
Automating Recurring transactions with Memorized Transactions in NetSuite

In this guide, we’ll explore how to create Memorized Transactions in NetSuite to handle recurring transactions efficiently.
Many businesses have transactions that repeat on a regular basis such as monthly rent, insurance premiums, utility bills, or recurring journal entries. Manually entering these transactions each period can be time-consuming and prone to error.
That’s where Memorized Transactions come in. NetSuite provides this feature out of the box to automatically generate recurring transactions you know will be in your accounts, saving you time and improving accuracy.
What is a Memorized Transaction?
A Memorized Transaction is a saved transaction template that NetSuite can recreate on a schedule you define. Instead of re-entering the same data each time, you “memorize” the transaction once, and NetSuite will automatically create it going forward.
For example:
Monthly rent expense
Quarterly insurance payment
Regular journal entries (e.g., accruals, amortizations)
Service subscription invoices
How to Create a Memorized Transaction
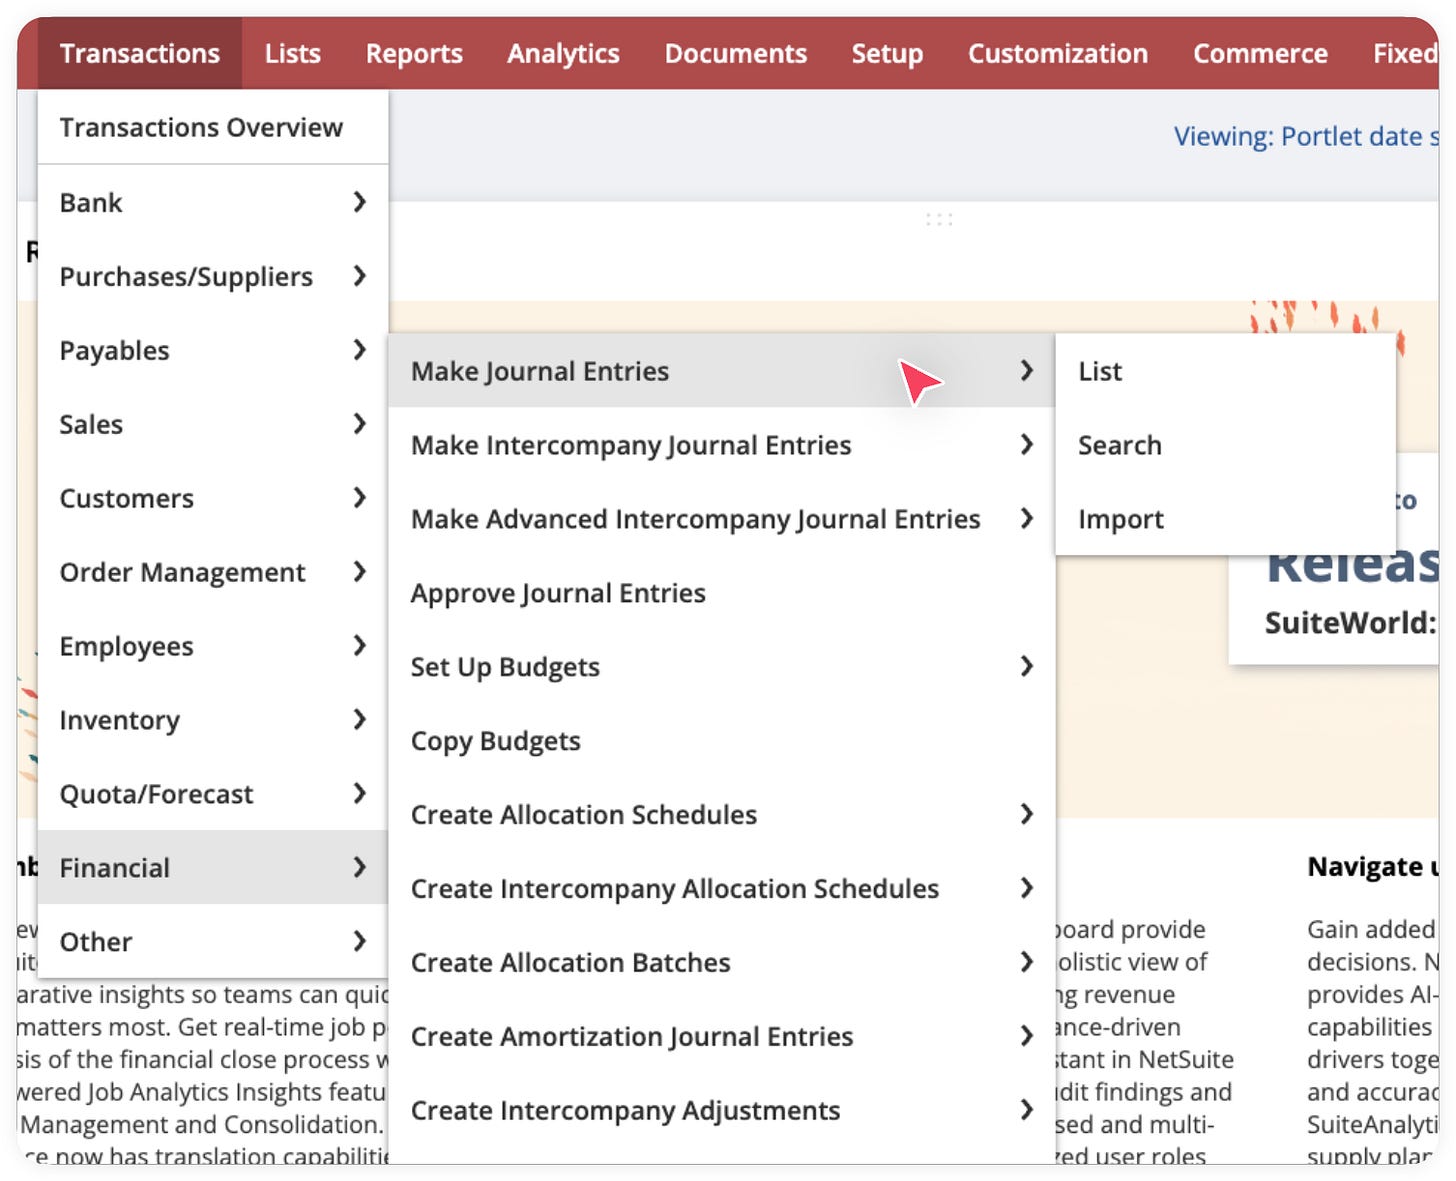
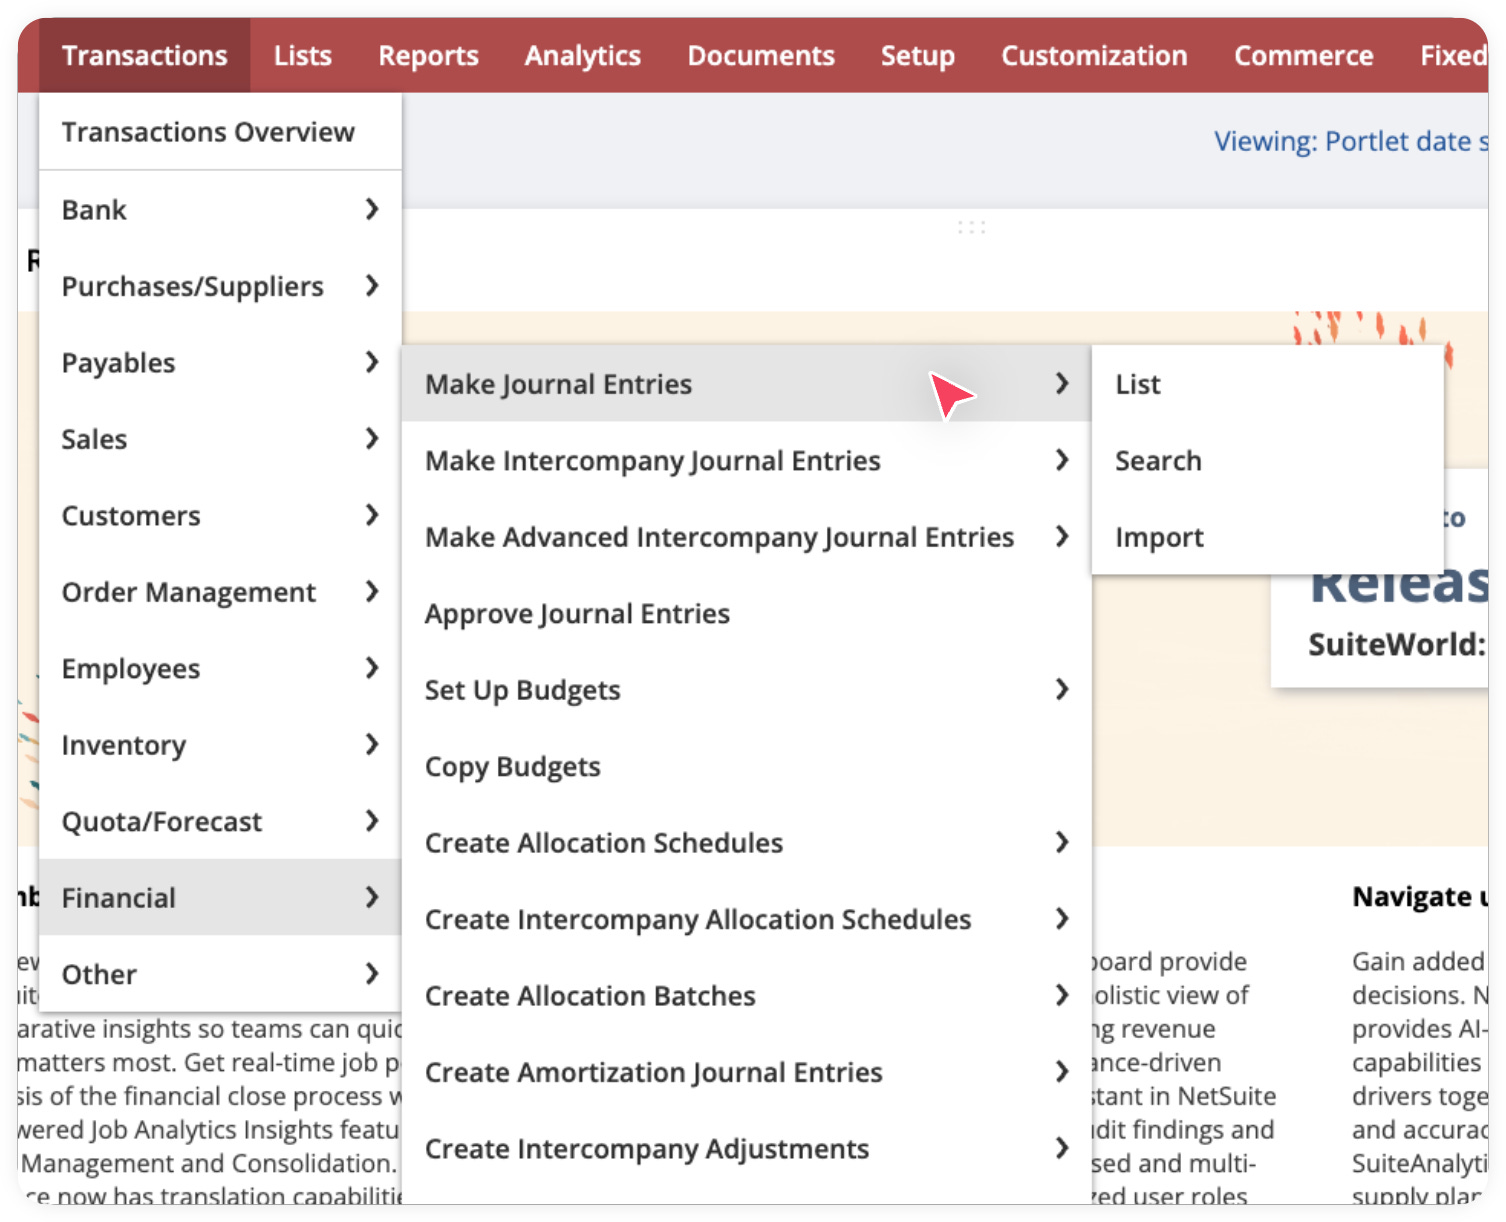
Navigate to the type of transaction you want to memorize (e.g., Transactions > Financial > Make Journal Entries).
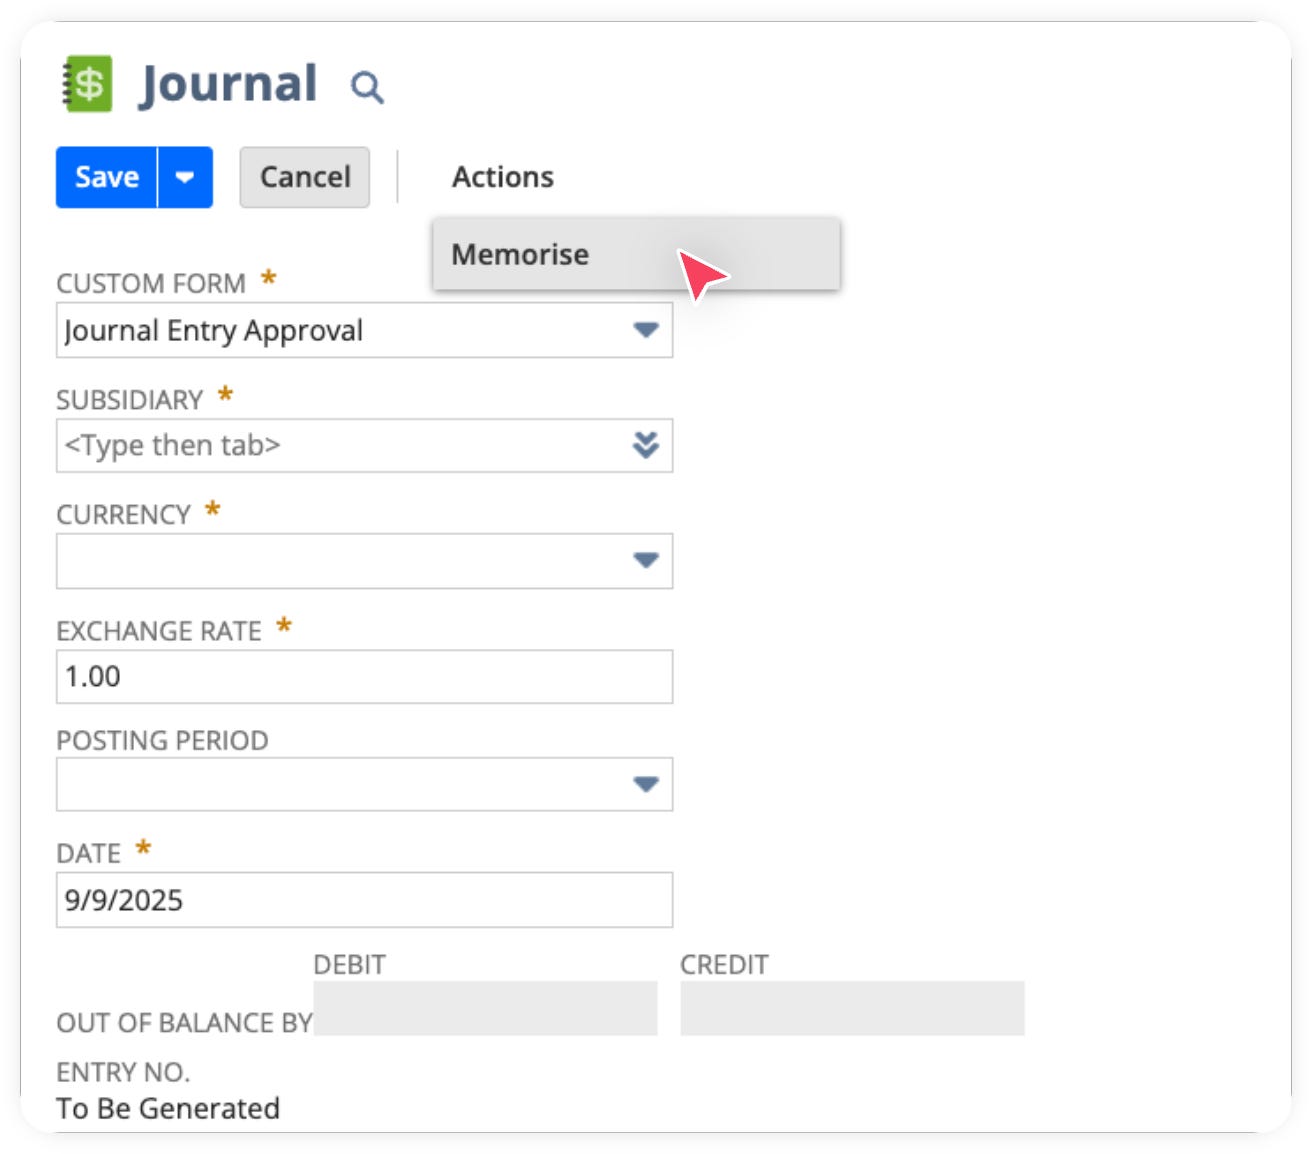
Enter the transaction details as you normally would.
Before saving, click the Memorize button at the top of the transaction form.

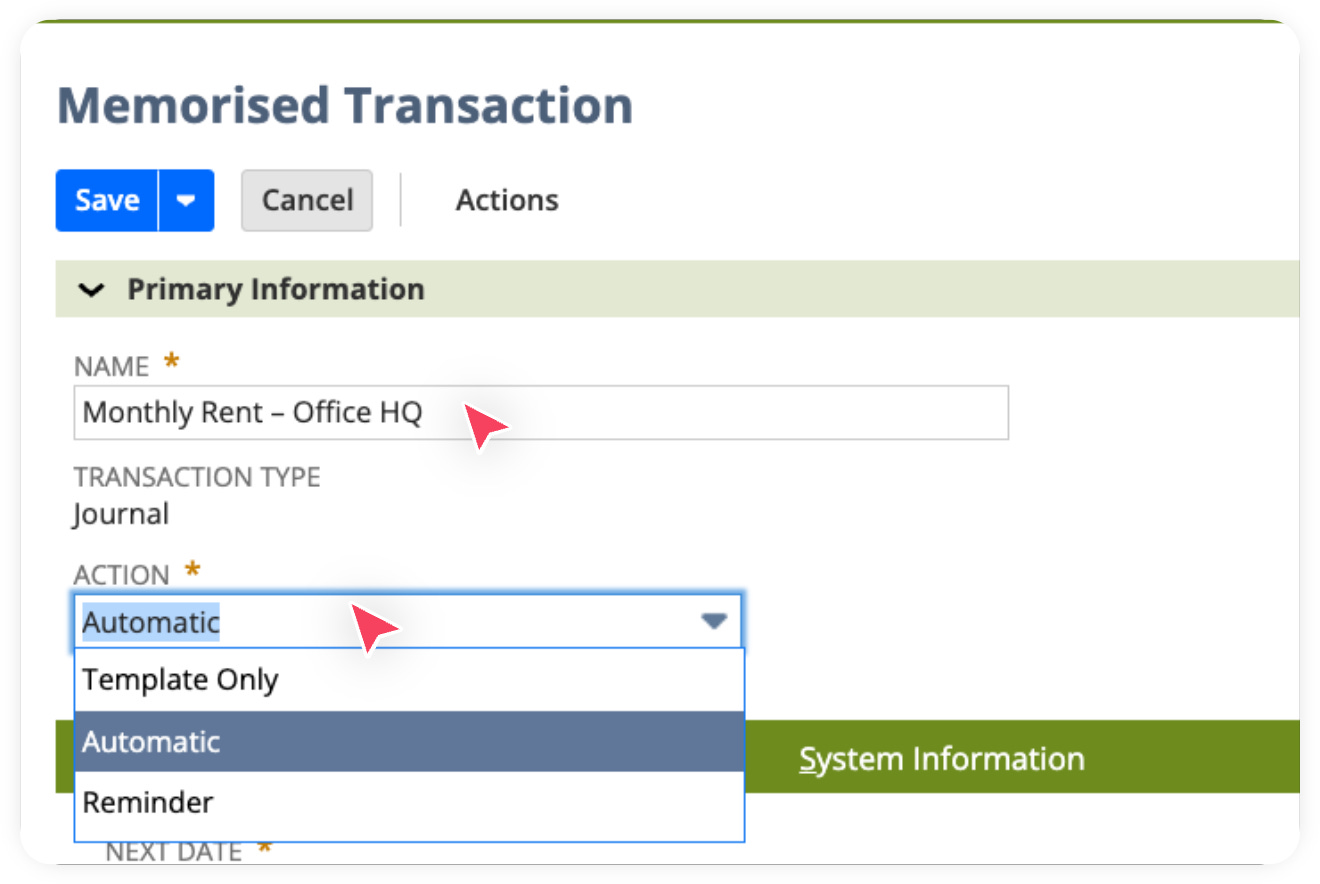
In the next screen, configure below details
Enter Name.
Select Action: Choose one of the following options:
Choose Template Only if you want to create a memorized transaction that will be used as a template, but will not create any actual transactions.
Choose Reminder if you want to be reminded when this transaction is due so that you can view and edit it before you save it.
Choose Automatic if you want this transaction to automatically post.
Pro Tip🧠: If you’re unsure, start with Reminder until you’re confident the amounts/details will stay consistent. Then switch to Automatic for true “set it and forget it” automation.
To set the schedule of the automation, click on Recurring Tab and set below details
Enter Next Date - this is the date the transaction will be actually created.
Enter Repeat Every (e.g., 1, 2).
Select Time Period (e.g., monthly, day, week).
Select Indefinite if you want this memorized transaction to continue running without an end date.


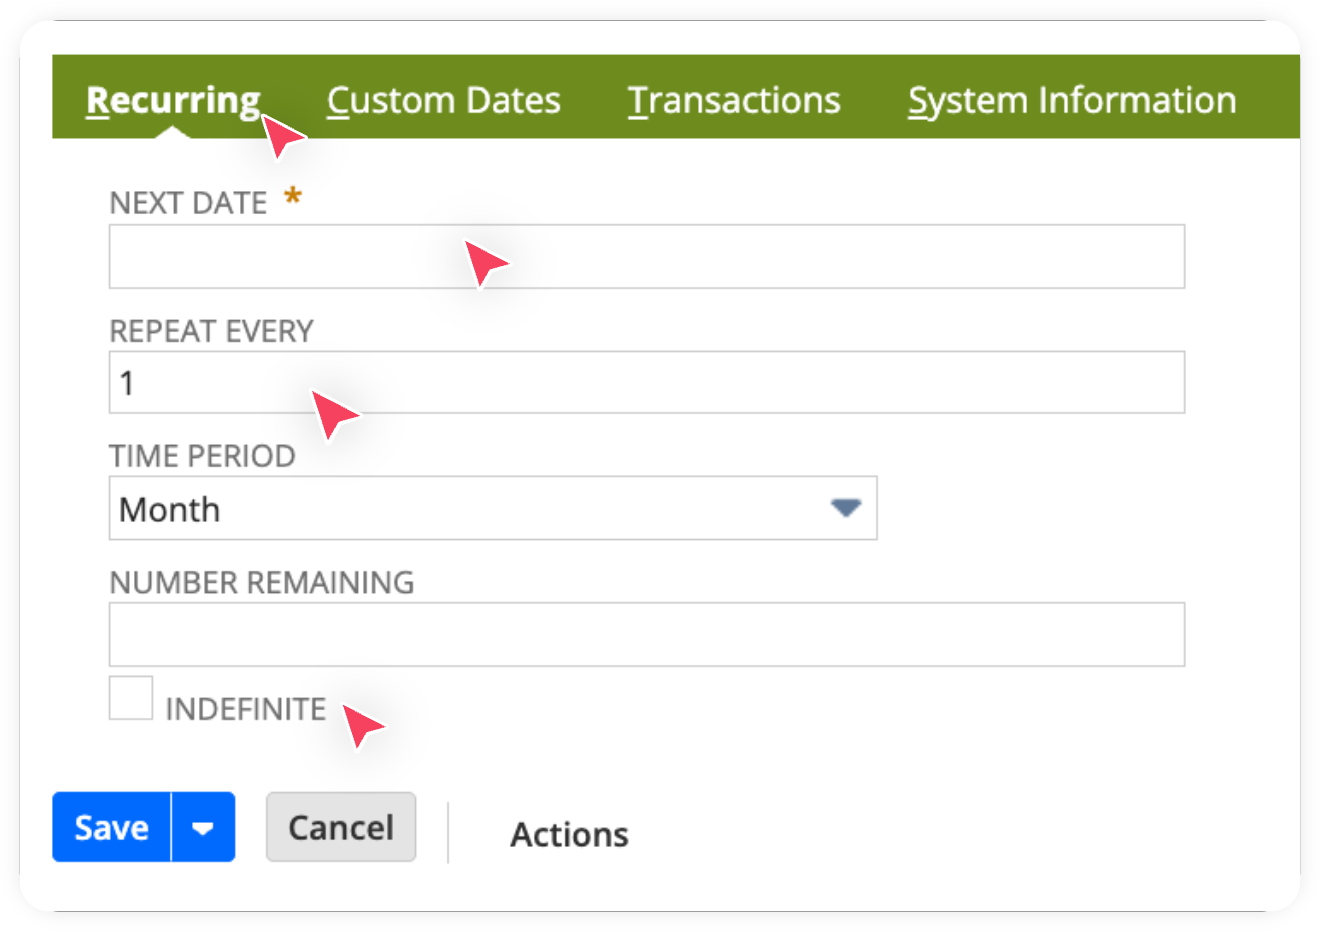
Click Save.
🎉 Great job! You’ve just created a memorized transaction in NetSuite. From now on, NetSuite will automatically handle this recurring entry based on the schedule and type you selected, saving you time and ensuring consistency in your accounting.
Managing Memorized Transactions
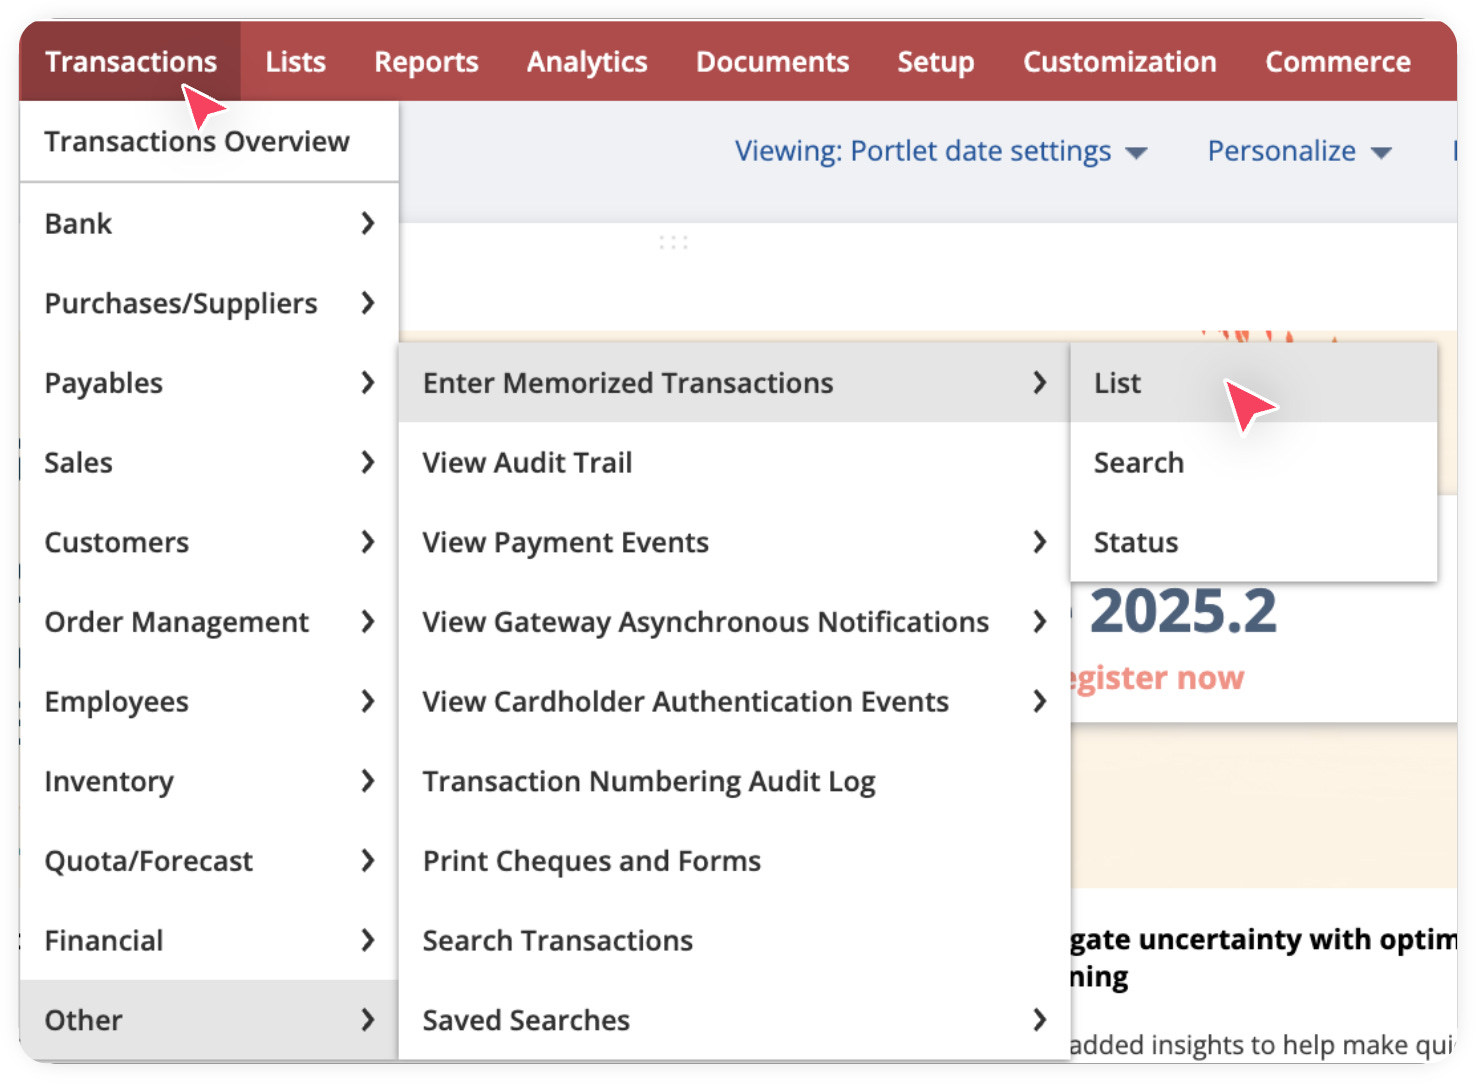
You can view and manage all memorized transactions by going to: Transactions > Other > Enter Memorized Transactions > List.
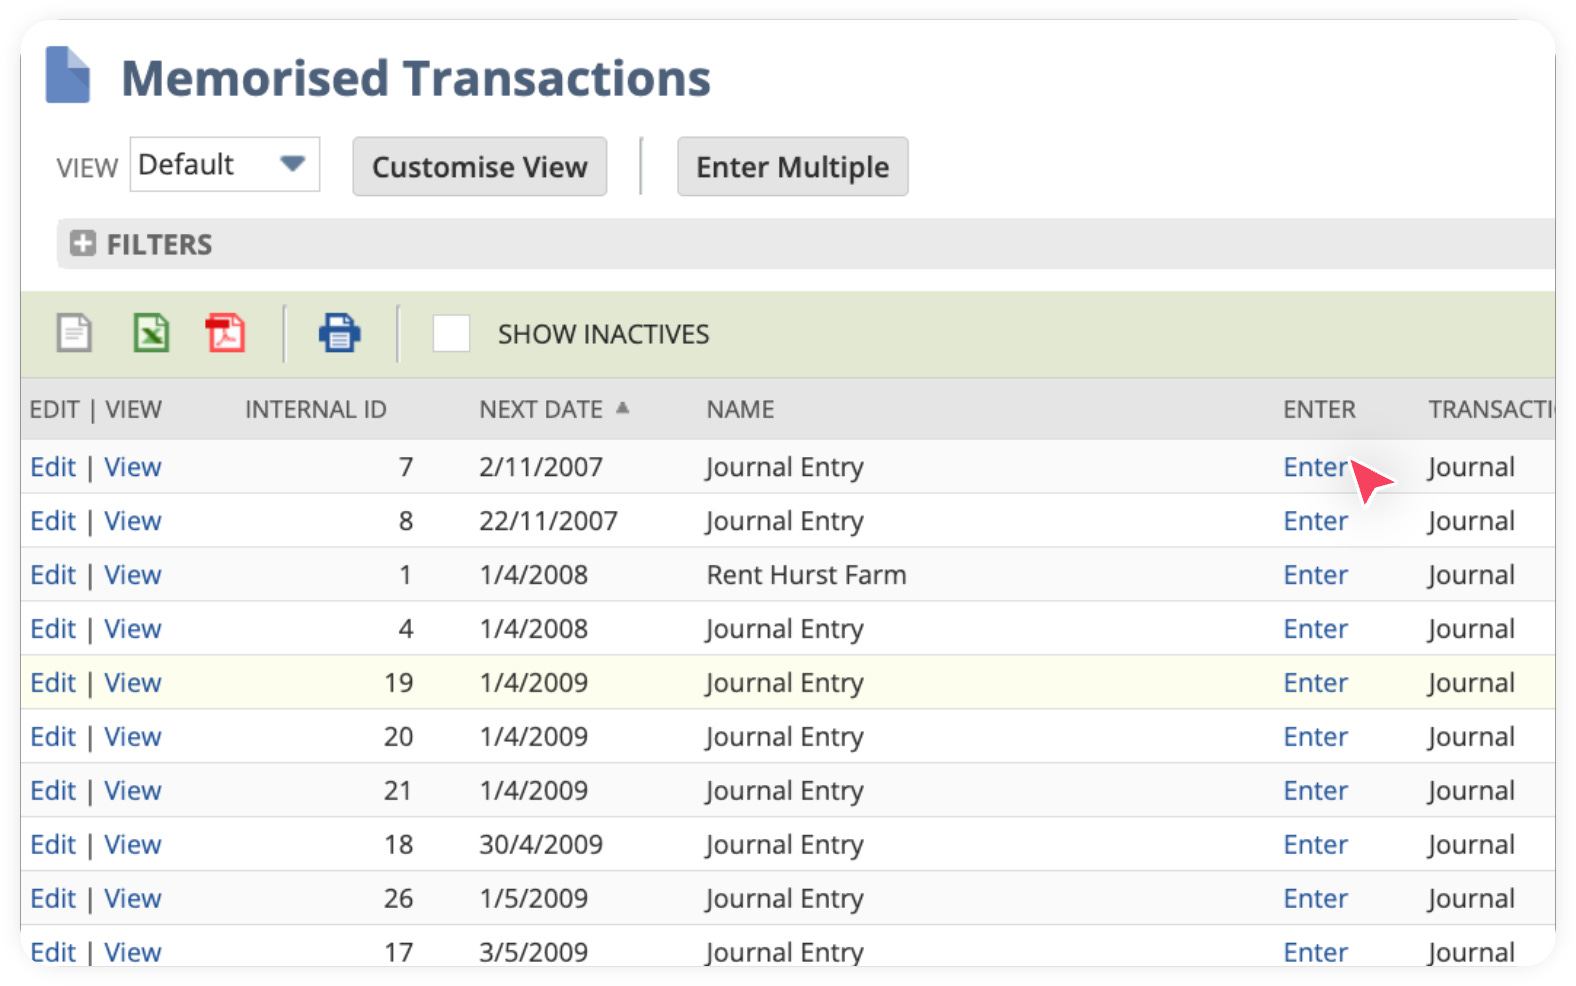
From here, you can:
Edit the schedule.
Pause or delete a memorized transaction.
Run one immediately if needed.
To create the transaction right away, click Enter next to the transaction.
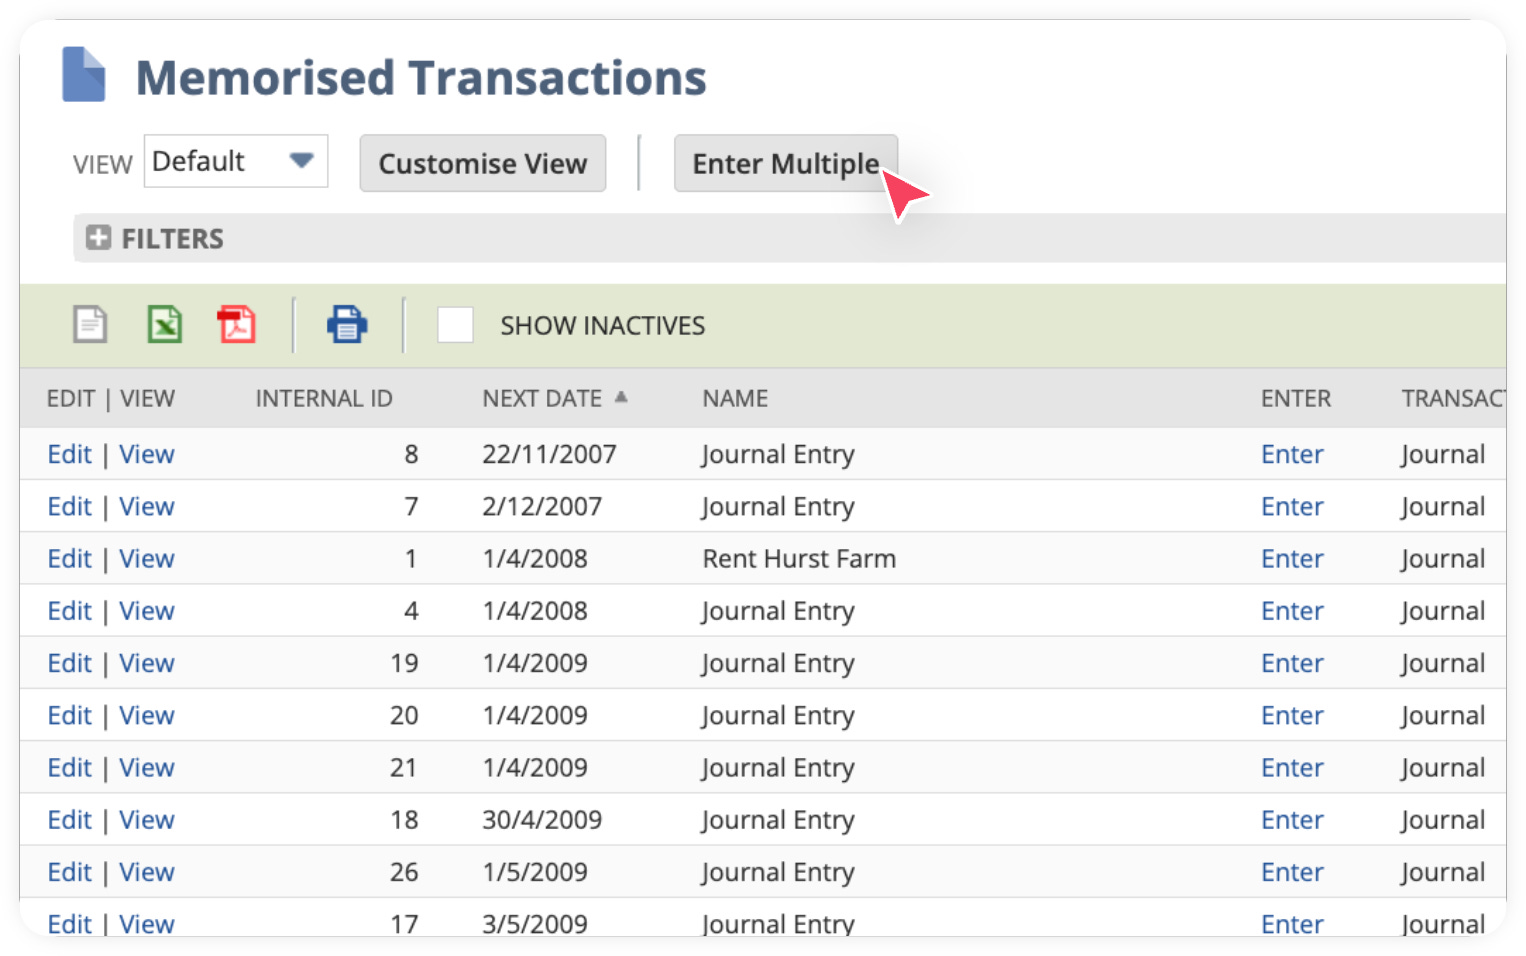
To create several memorized transactions right away at once, click Enter Multiple.
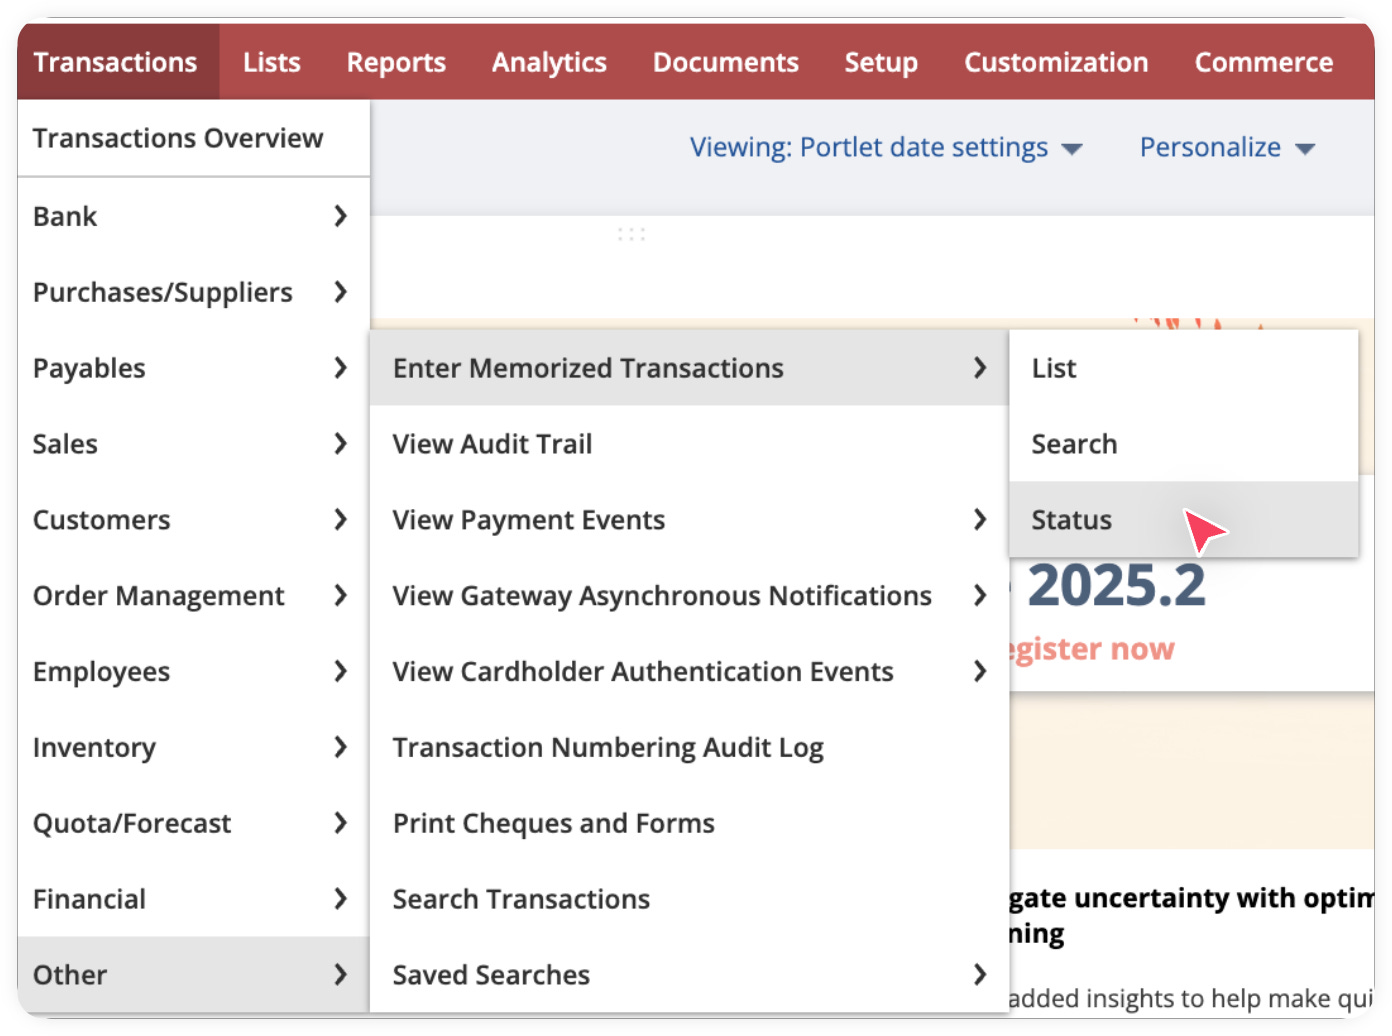
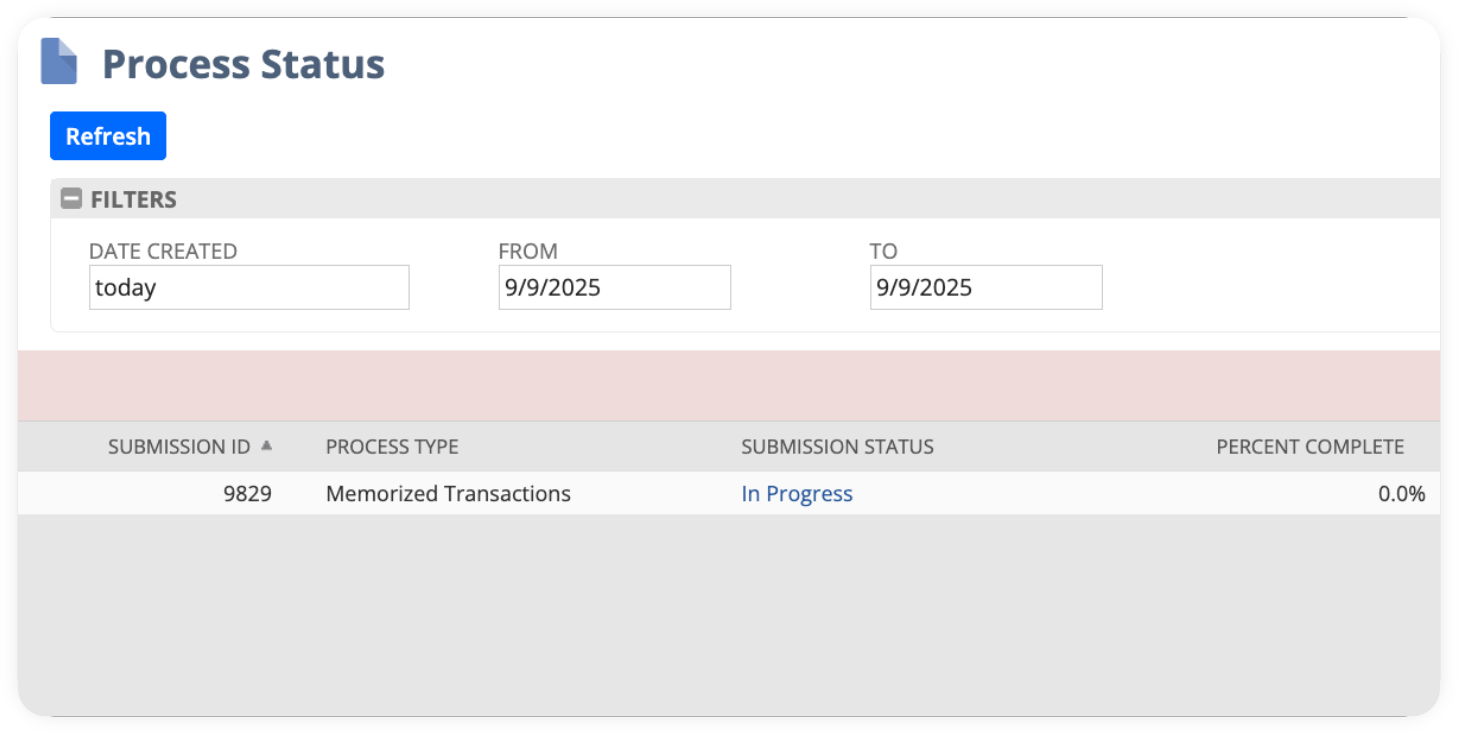
You can track the status of multiple memorized transactions by going to Transactions > Management > Enter Memorized Transactions > Status.
You’ll see something like this:
🎉 Congratulations! You’ve just learned how to create and manage Memorized Transactions in NetSuite, a handy out-of-the-box feature that saves time, reduces manual work, and keeps your financial records accurate.