
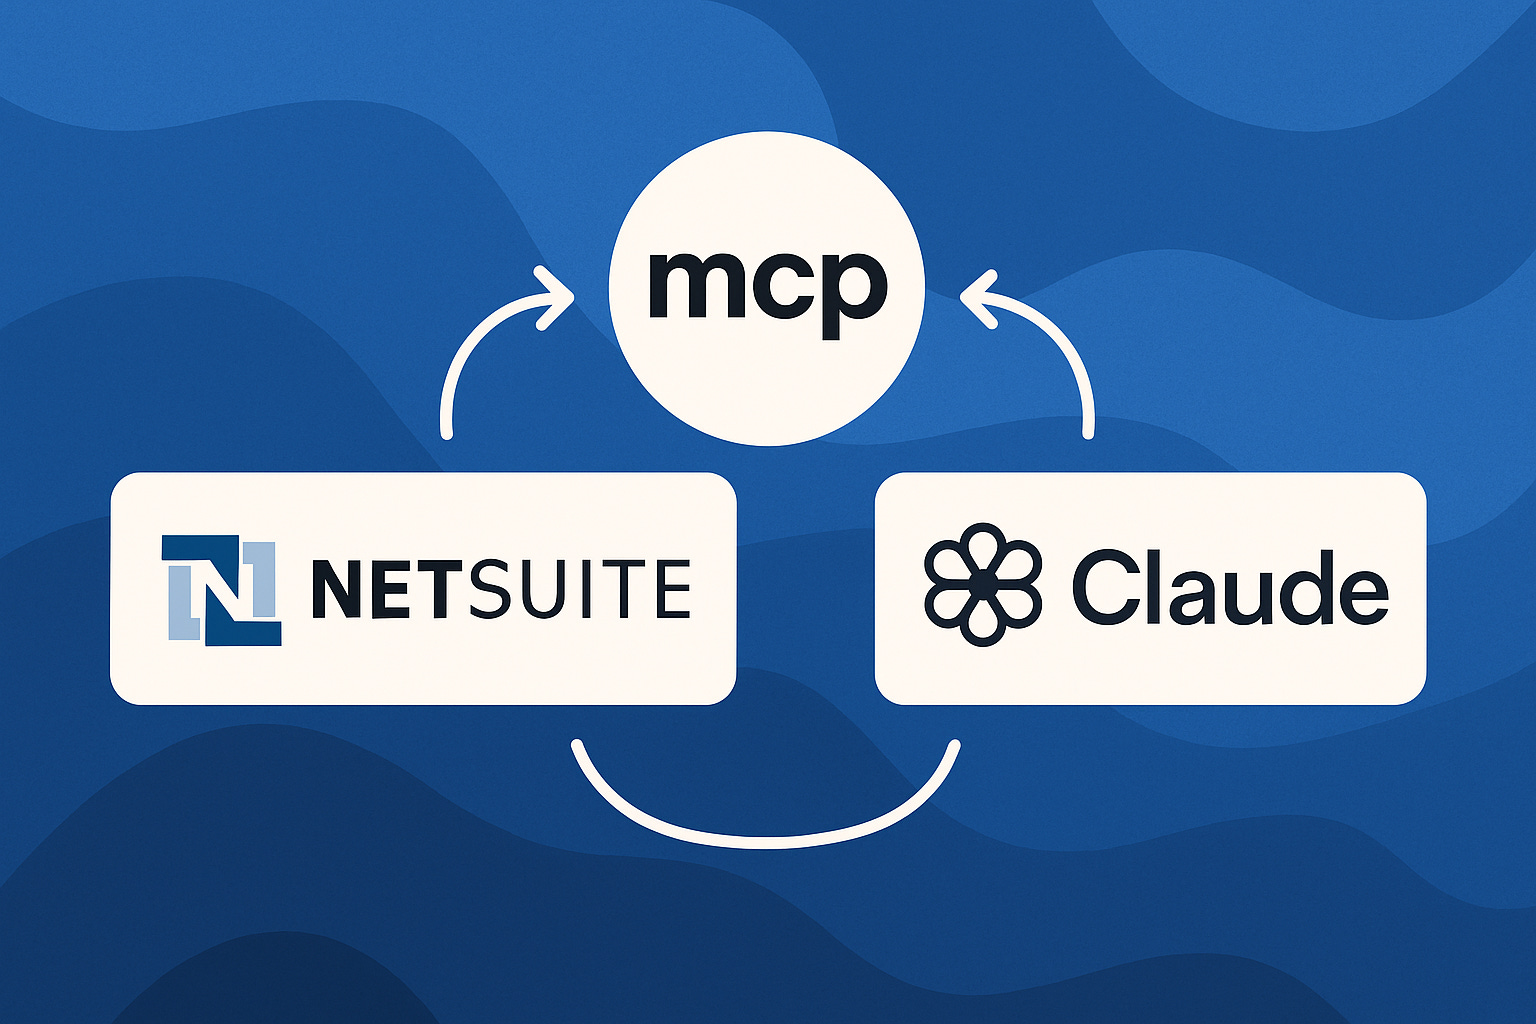
How to connect NetSuite to Claude via MCP - Part 2 of 3

Objectives
This is a multi-part series where we:
Connect Claude to the MCP server (you are here)
Set up NetSuite connector in Claude AI
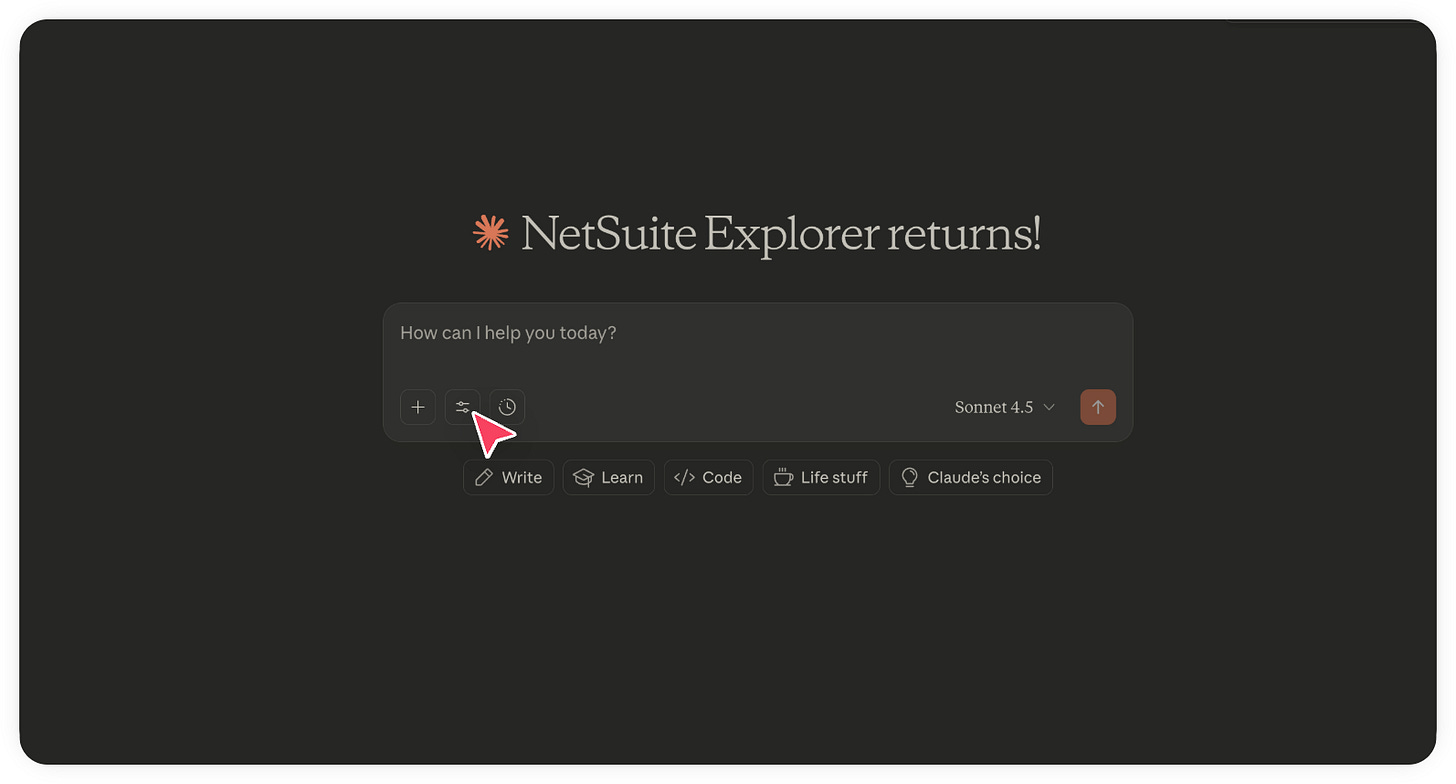
Go to Claude.ai in your web browser, then click on the tools icon you see below.

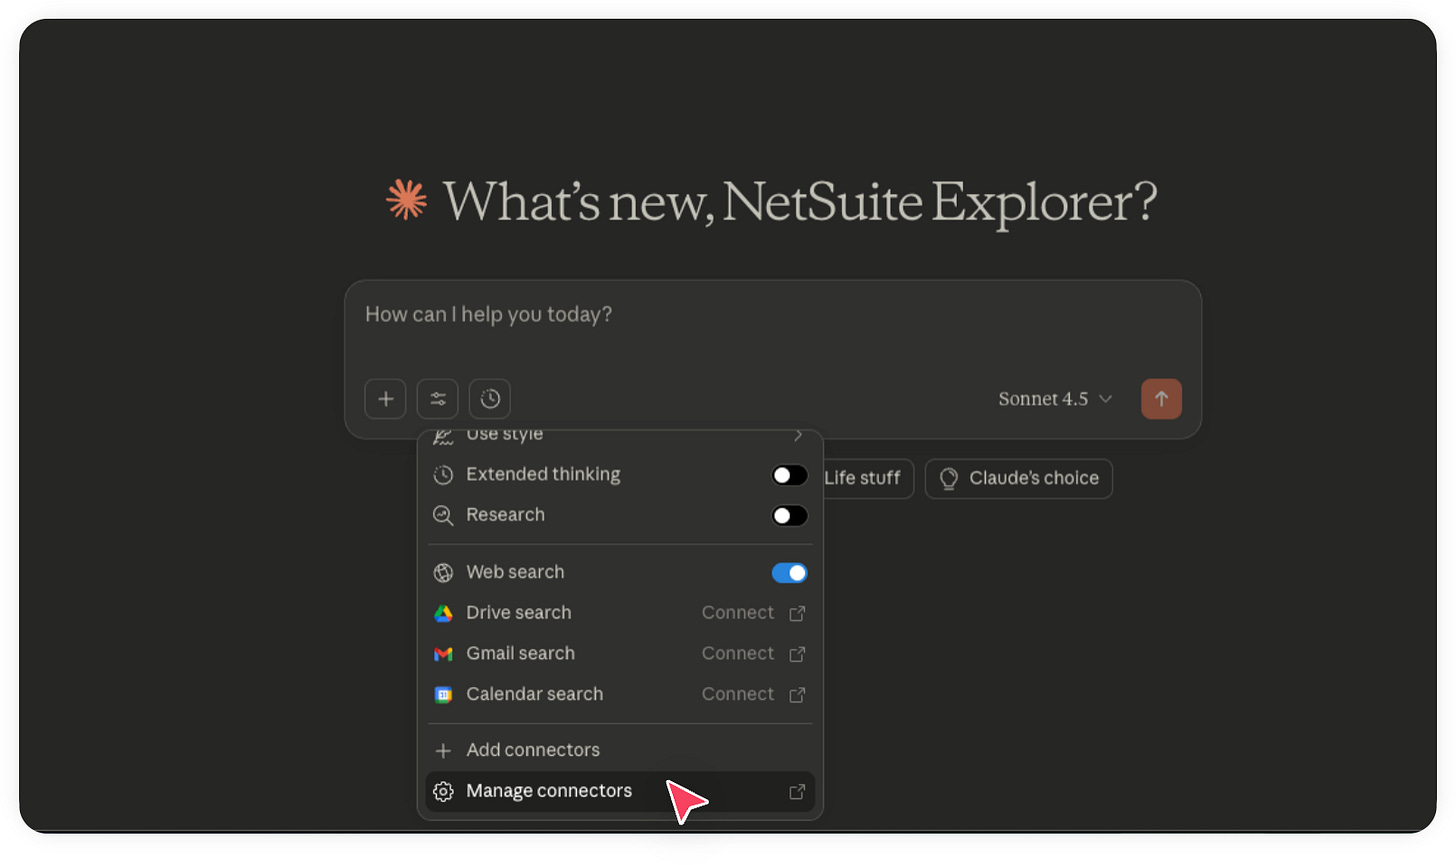
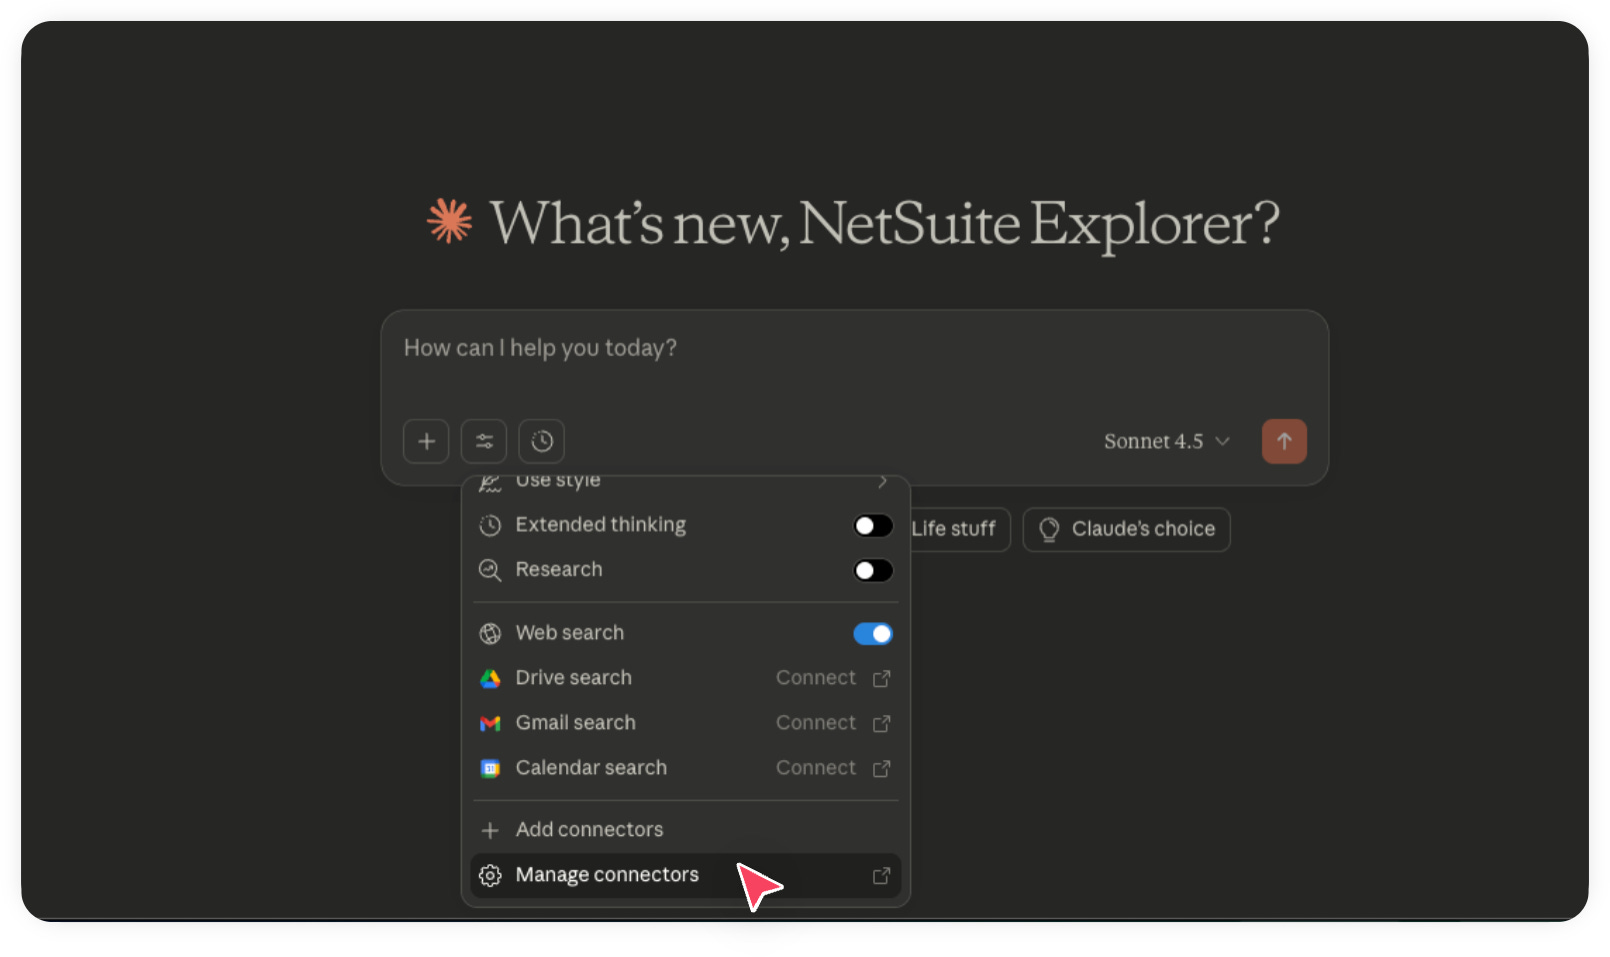
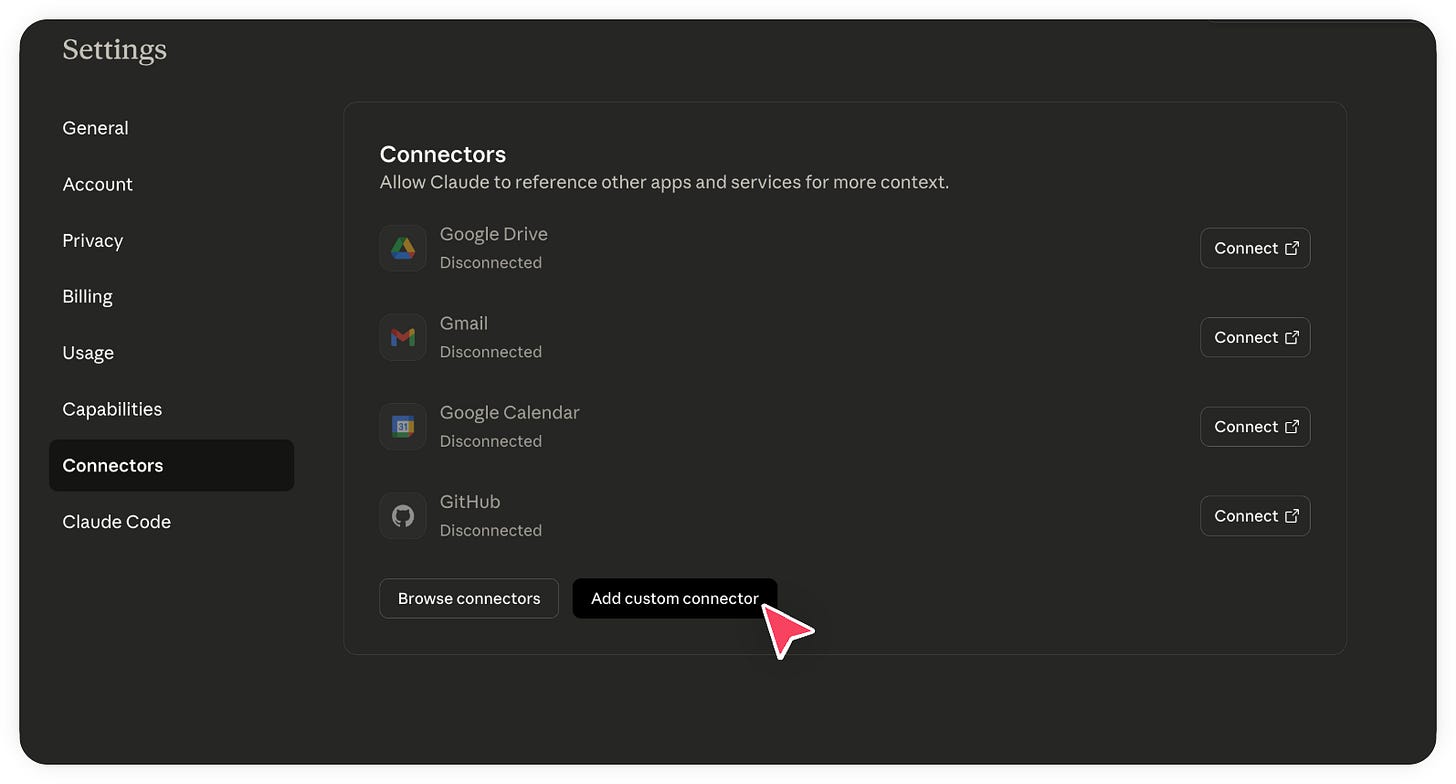
Click Manage connectors.
In the next screen, Click Add custom connector.
Provide a proper Name and the MCP Server URL. For your account, the URL should be in the format: https://<accountid>.suitetalk.api.netsuite.com/services/mcp/v1/all
You can find your account ID from your NetSuite URL in the browser. This is not the ID shown in Company Information (the one with underscores).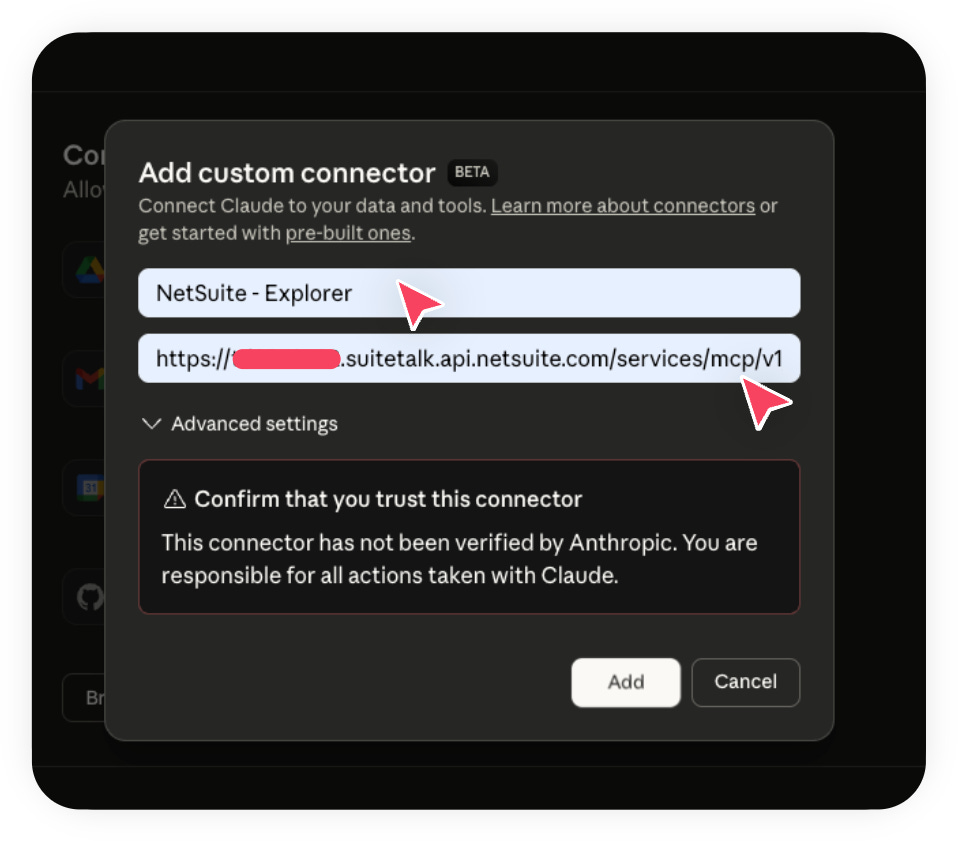
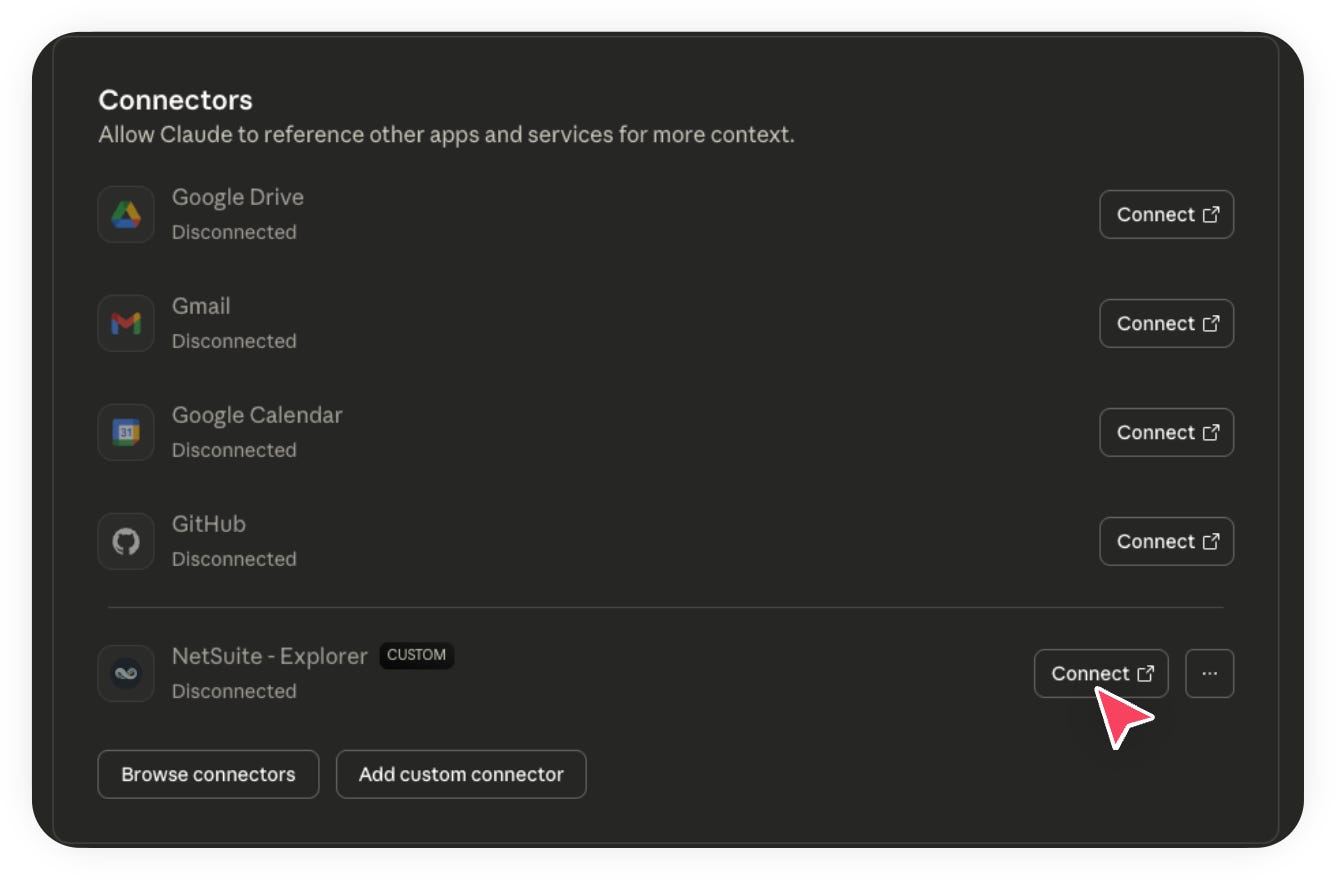
Click Add, and then click on Connect.


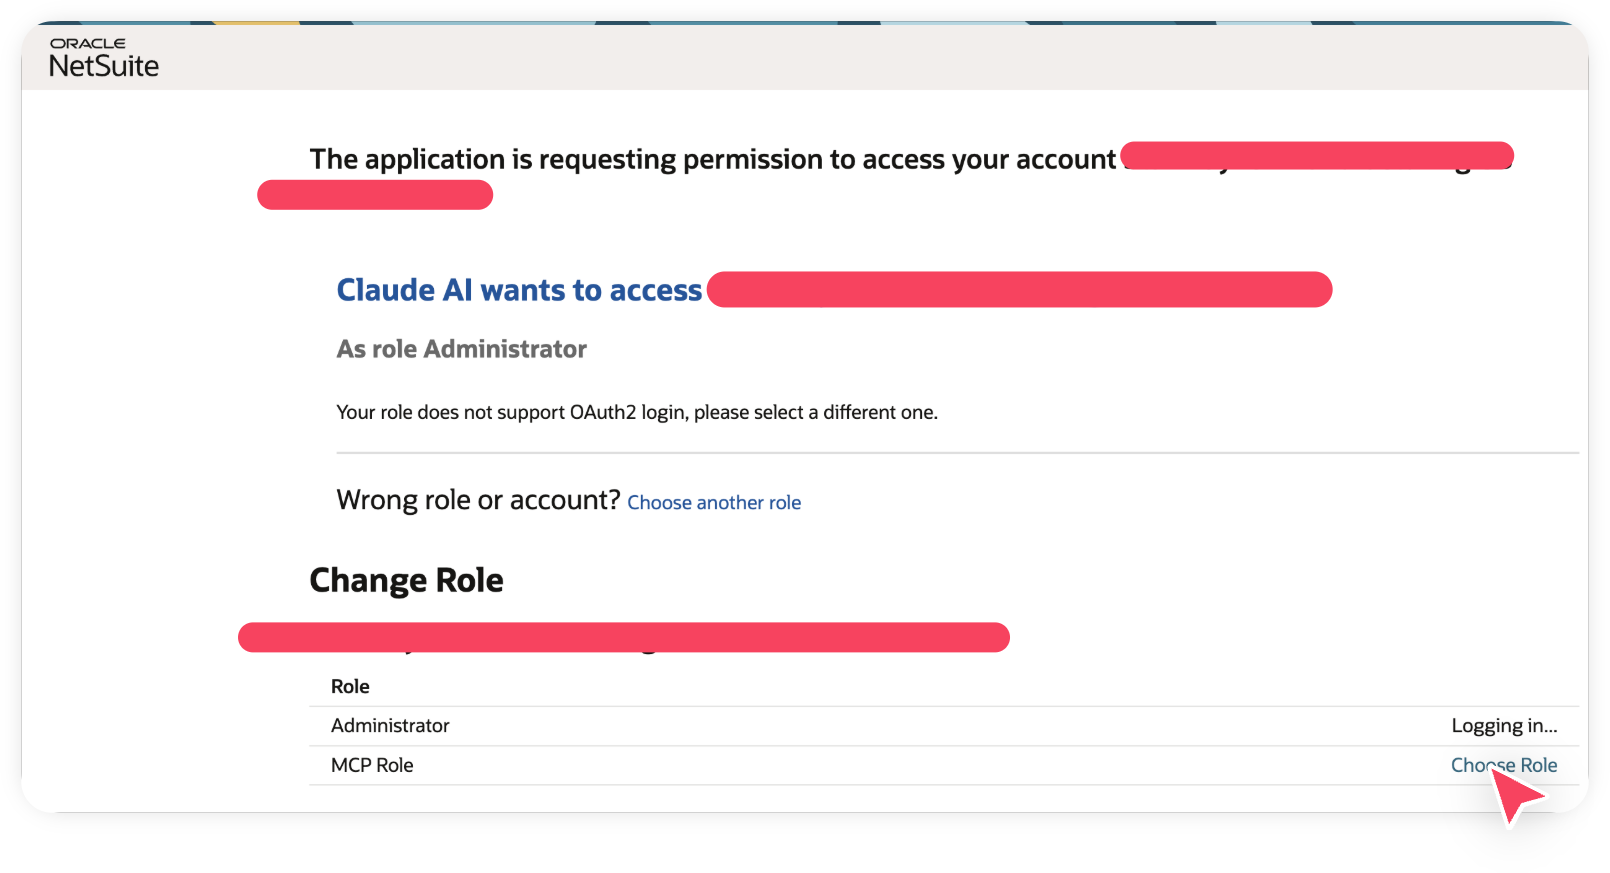
After clicking Connect, your browser should open a pop-up window. In that window, select the role you assigned to yourself earlier as this role is configured with OAuth 2.0 login.

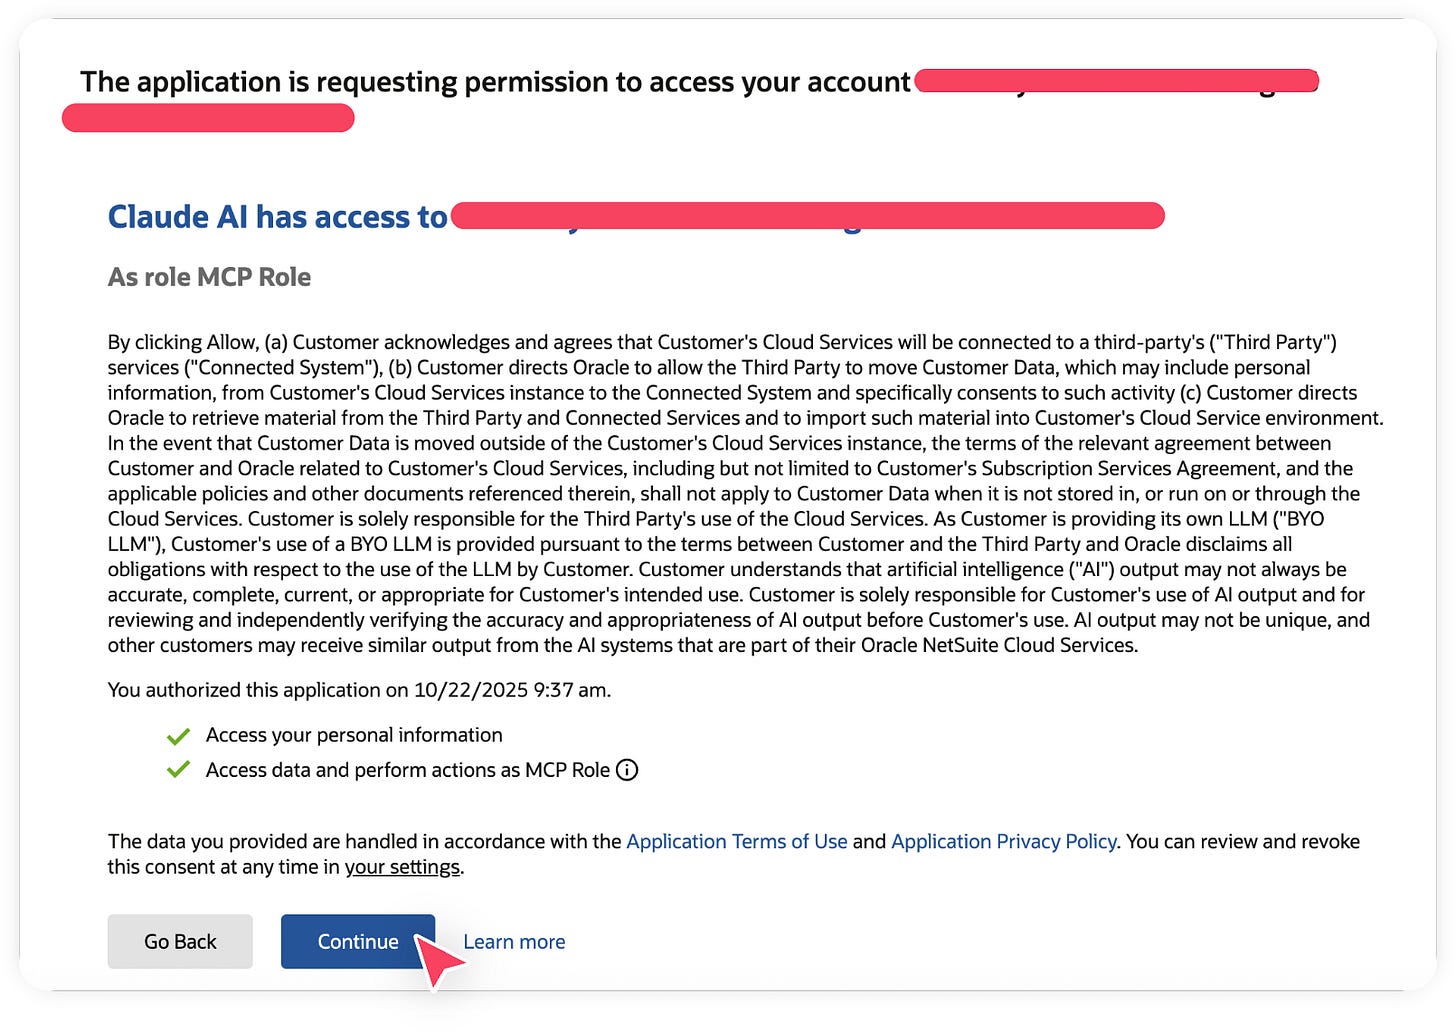
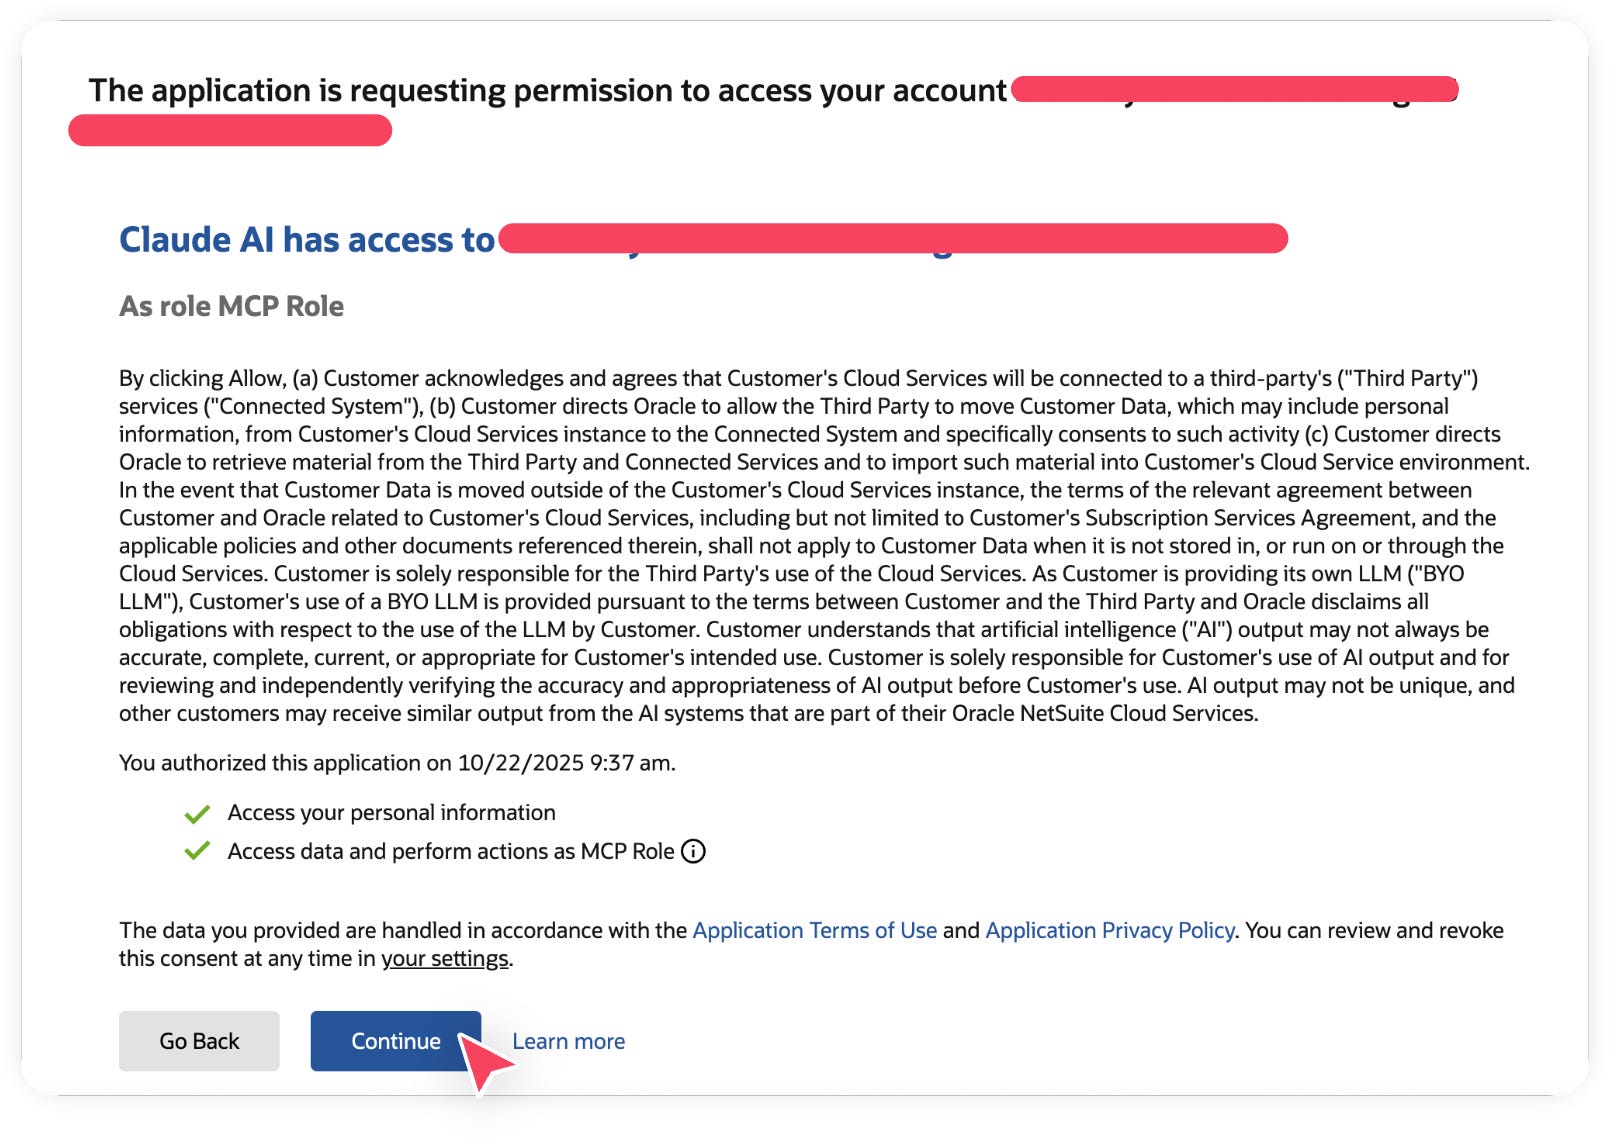
Now NetSuite will show a big scary message saying that you are giving a third party access to your account which can include viewing personal information and performing actions using the MCP role. This is normal and safe as long as the role you created has only the necessary and limited permissions. Click Allow.
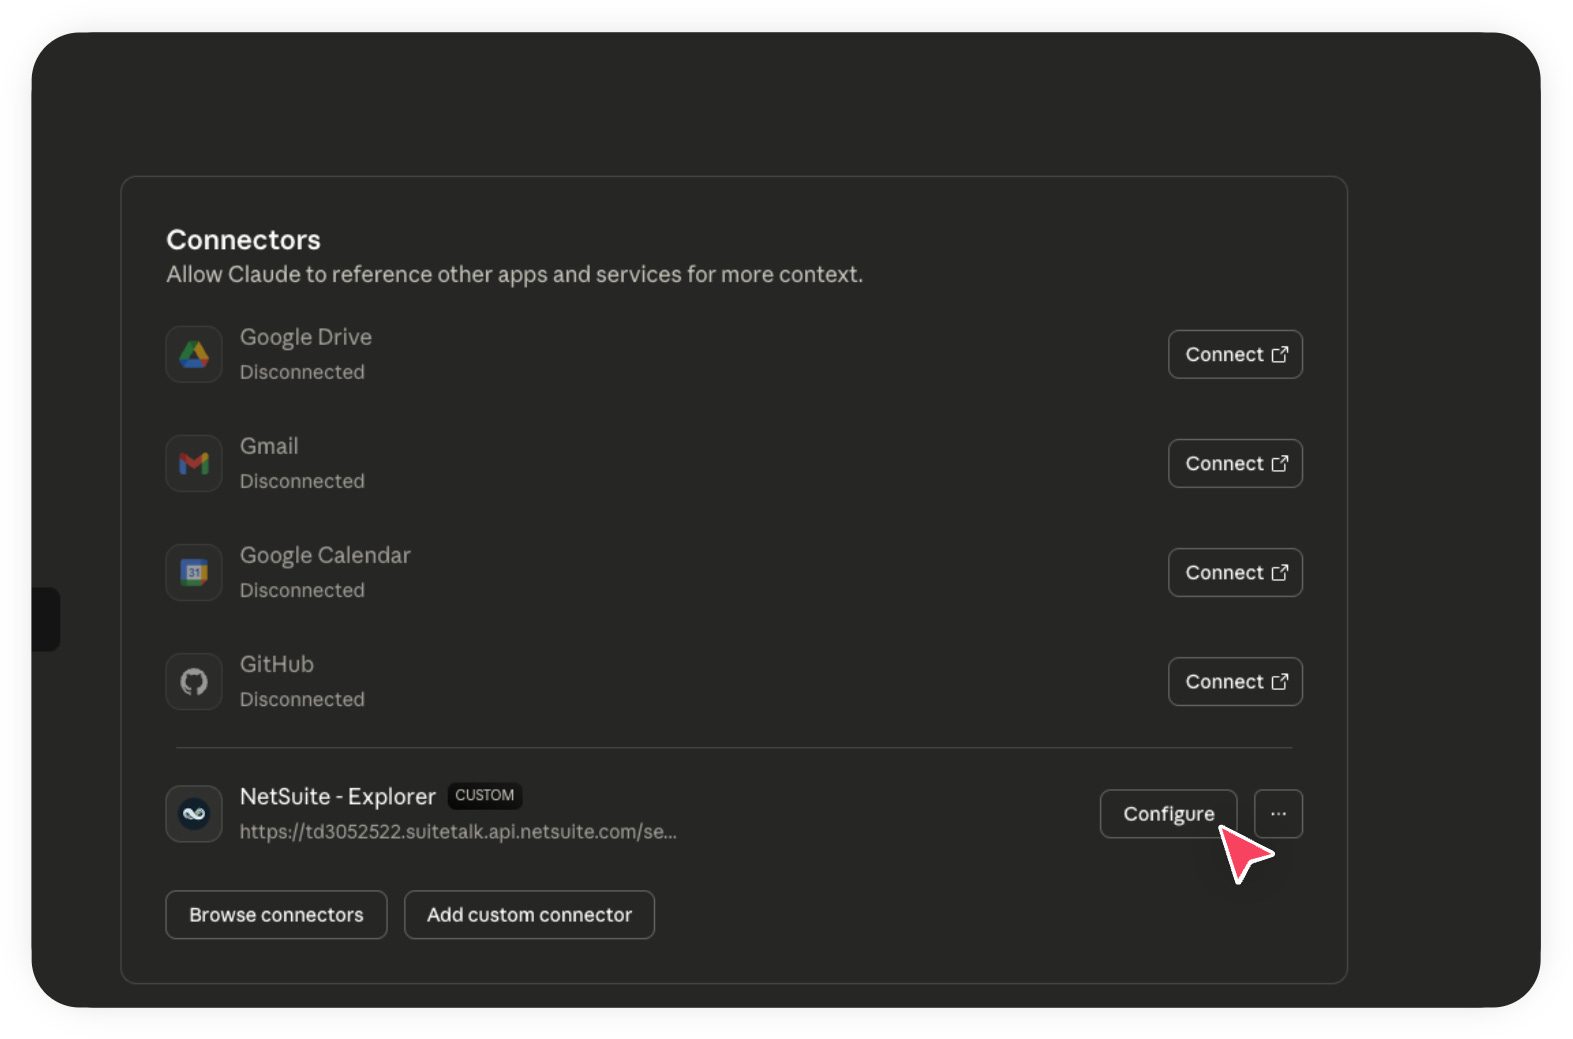
You should now be redirected back to Claude and you should see Configure next to your NetSuite Connector instead of Connect. This means the connection was successful.
FYI, sometimes you might be redirected to a page that looks like an error. If that happens, just go back to Claude and check the Connectors section to confirm the connection. It may be an open bug with Claude.
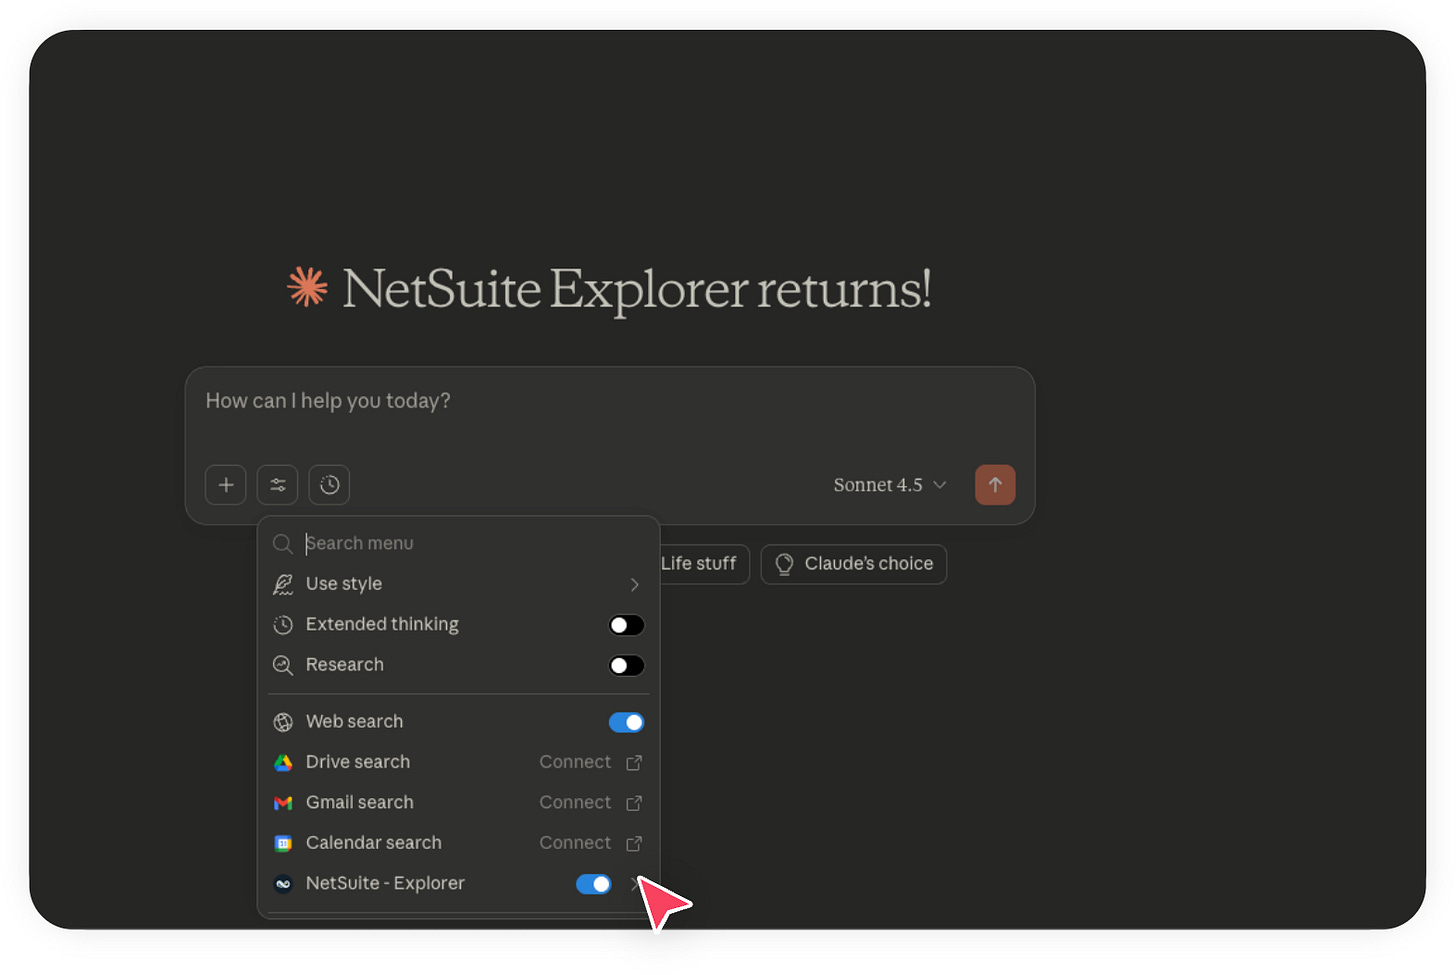
Go back to the home screen and click the Tools icon again. You should now see your NetSuite connector enabled.
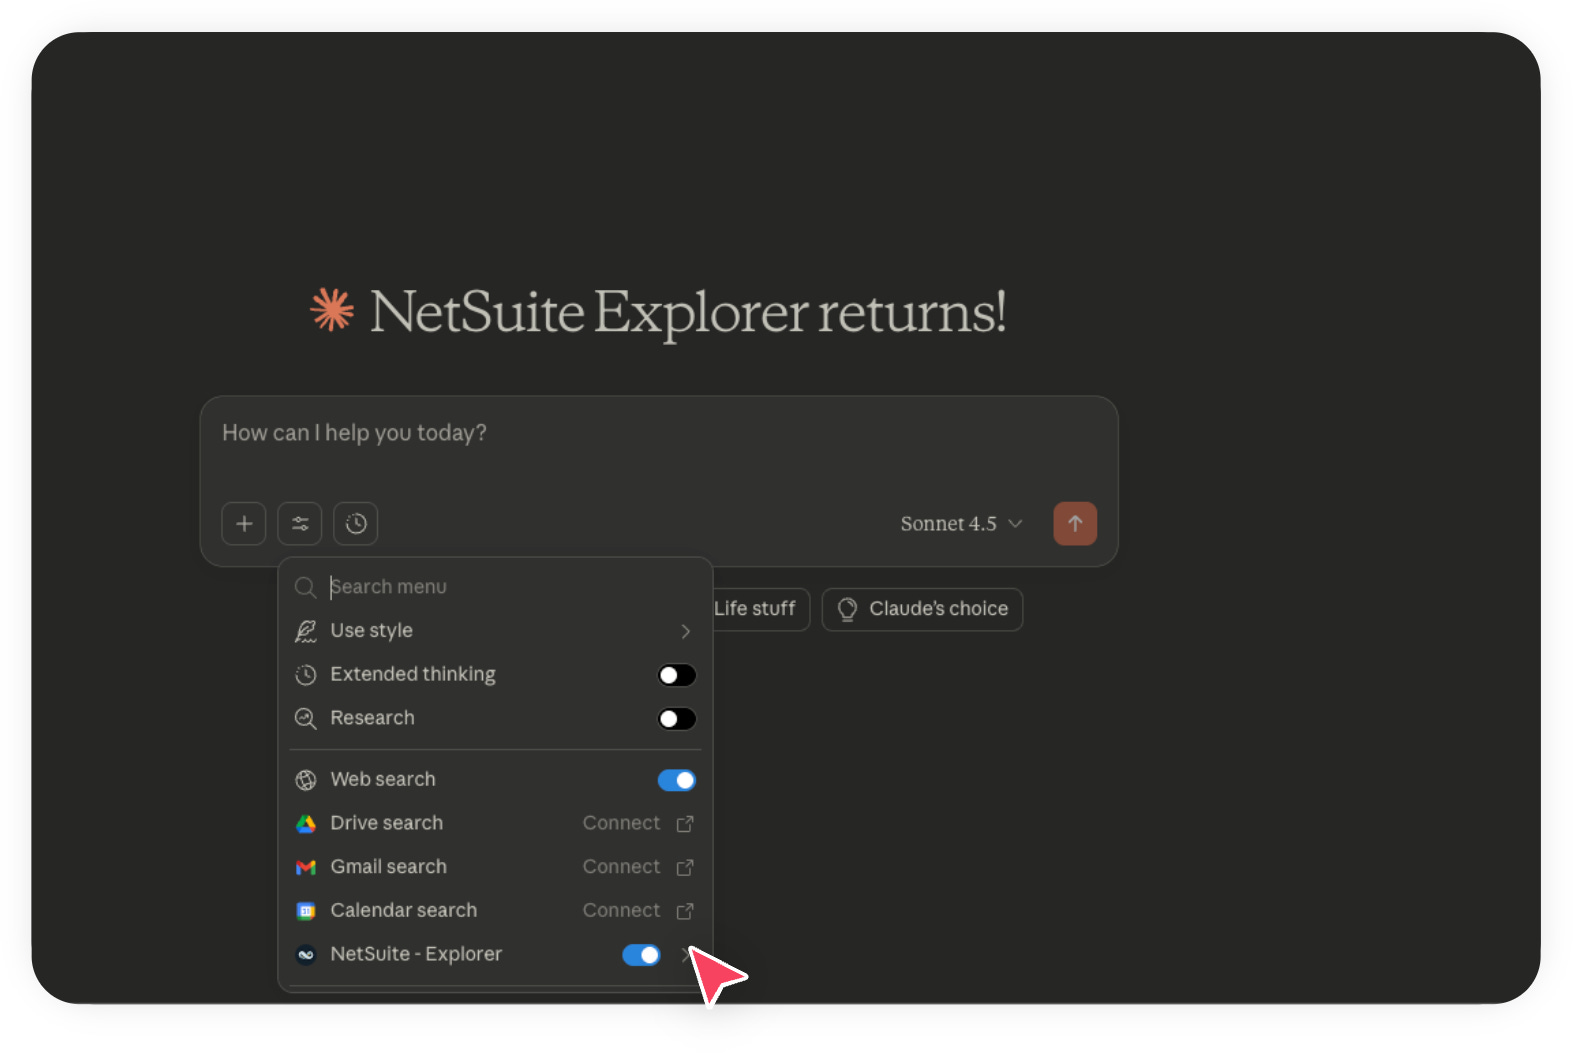
Congratulations! 🎉
You’ve successfully connected Claude to your NetSuite instance. Now you can explore, analyze, and access your NetSuite data using plain language, no coding required. Gain powerful insights into your business and have some fun experimenting with what Claude can do.
Let’s move on to some real examples in part 3.