
How to connect NetSuite to Claude via MCP - Part 1 of 3

Objectives
Fresh off the heels from an announcement at SuiteWorld, I present a multi-part series where we:
Connect NetSuite to the MCP server (you are here)
Why did I write this?
There’s an ongoing bet that the future of interacting with tools like NetSuite, Salesforce, and other system-of-records is going to change. It’s a future where we add a purchase order with a line of text to a chat bot. Or where an agent proactively looks out for missing W9s before tax season and alerts you.
That has second order impacts for Oracle itself, and for consultants like me. It takes us out of the work of configuring NetSuite (best automated and left to Cadbury 😉 ) and more into the work of processing engineering and optimization.
Whether you’re an end user, a consultant, or frankly staff at Oracle - you should follow this guide.
What is MCP?
The Model Context Protocol (MCP) is the new kid on the integration block introduced by Anthropic (makers of Claude) in 2024. You have probably heard developers mention SOAP and REST when talking about system integrations. While SOAP and REST help web services talk to each other, MCP helps AI models access databases, APIs, and other resources through a standardized interface. It reduces the custom integration work developers previously had to do for each data source.
What we’ll need
MCP standard tools SuiteApp in NetSuite.
A custom role.
Claude AI pro subscription.
Installing MCP standards tools SuiteApp
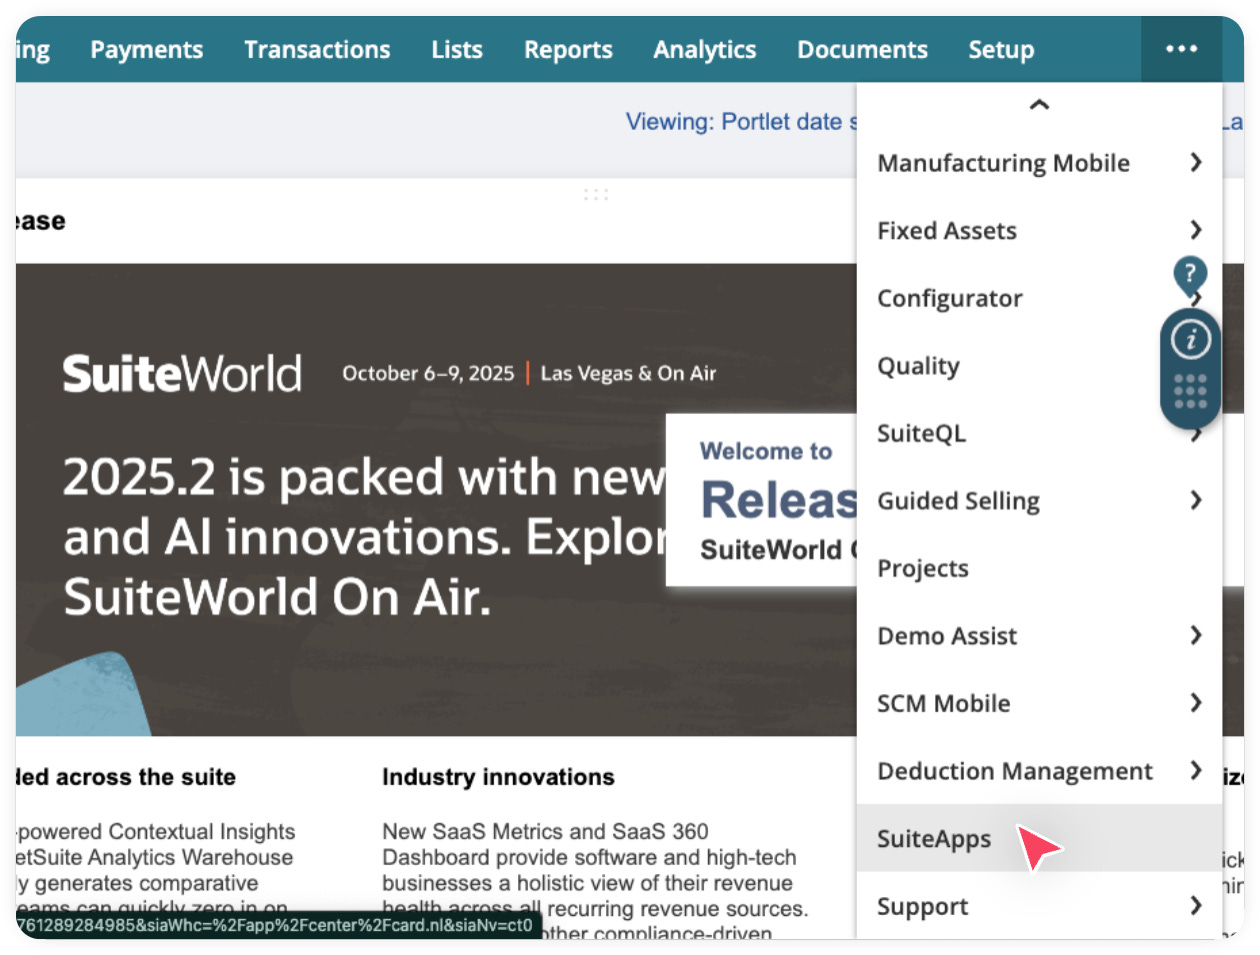
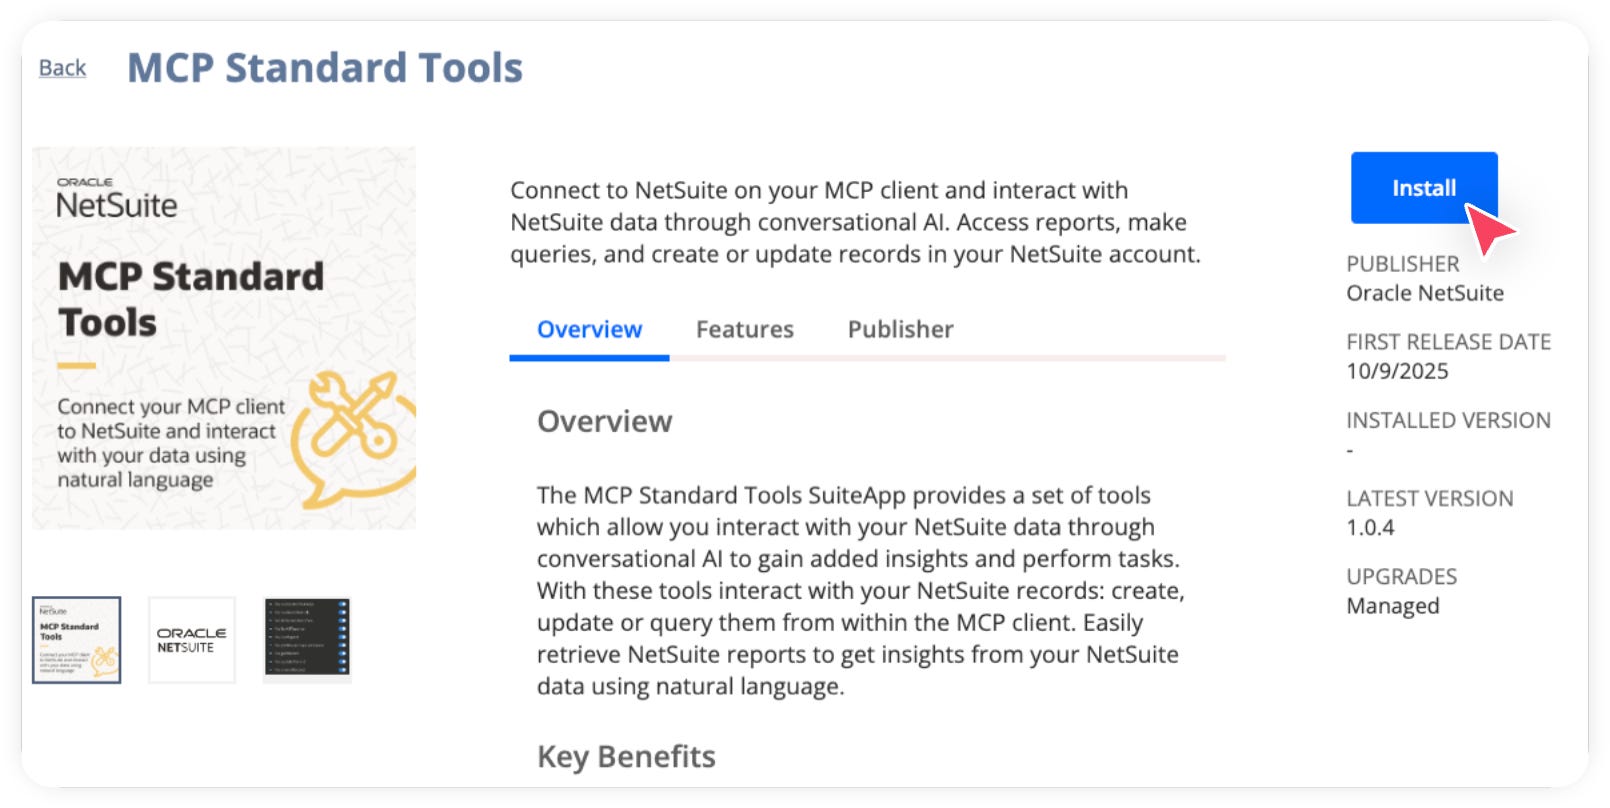
In your NetSuite, Go to SuiteApps.

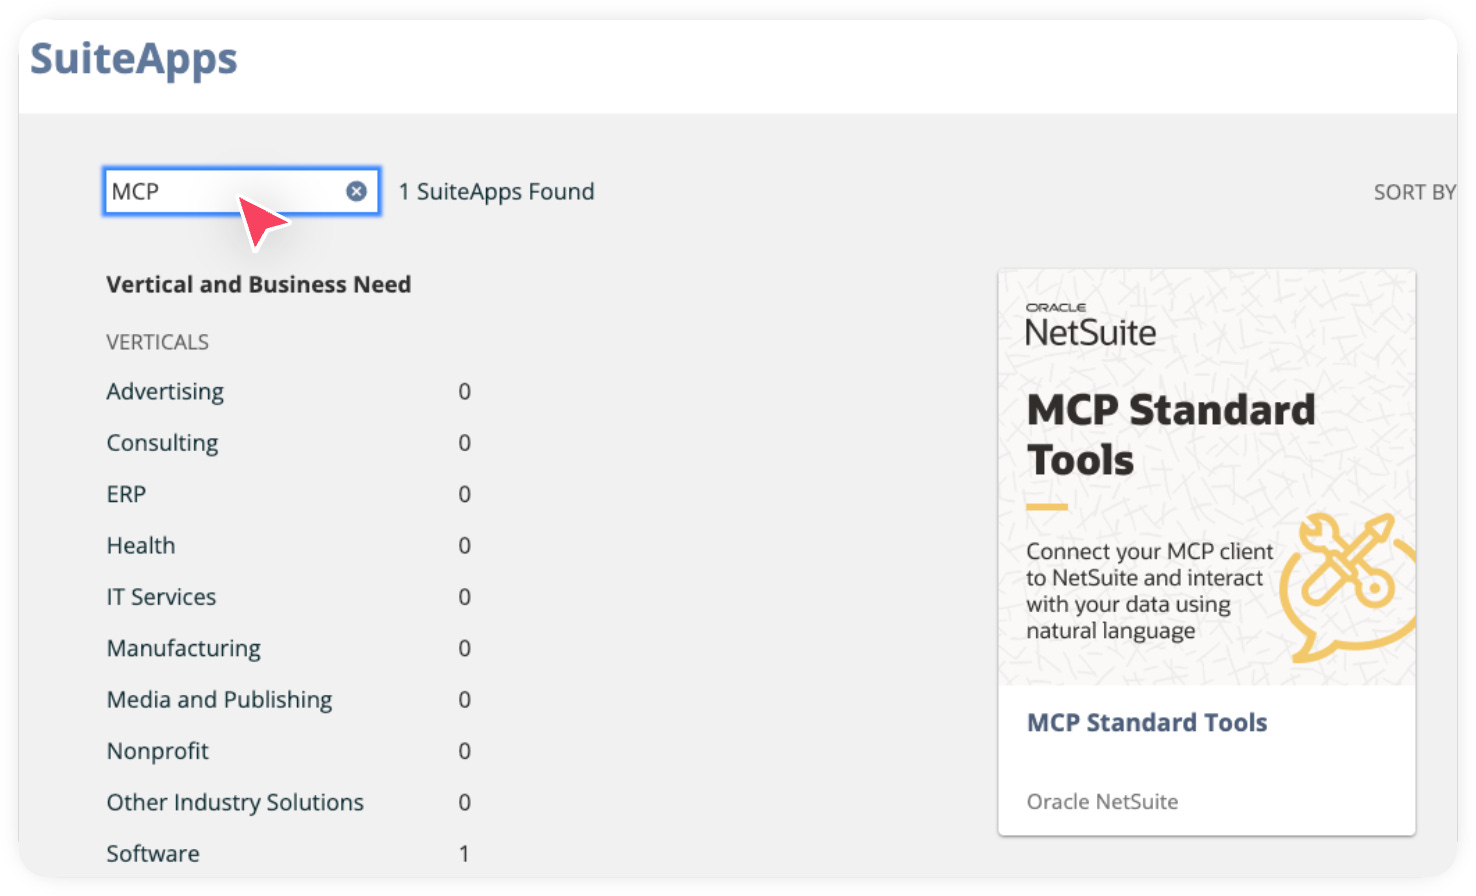
Search for MCP. Click on the shown SuiteApp (below).

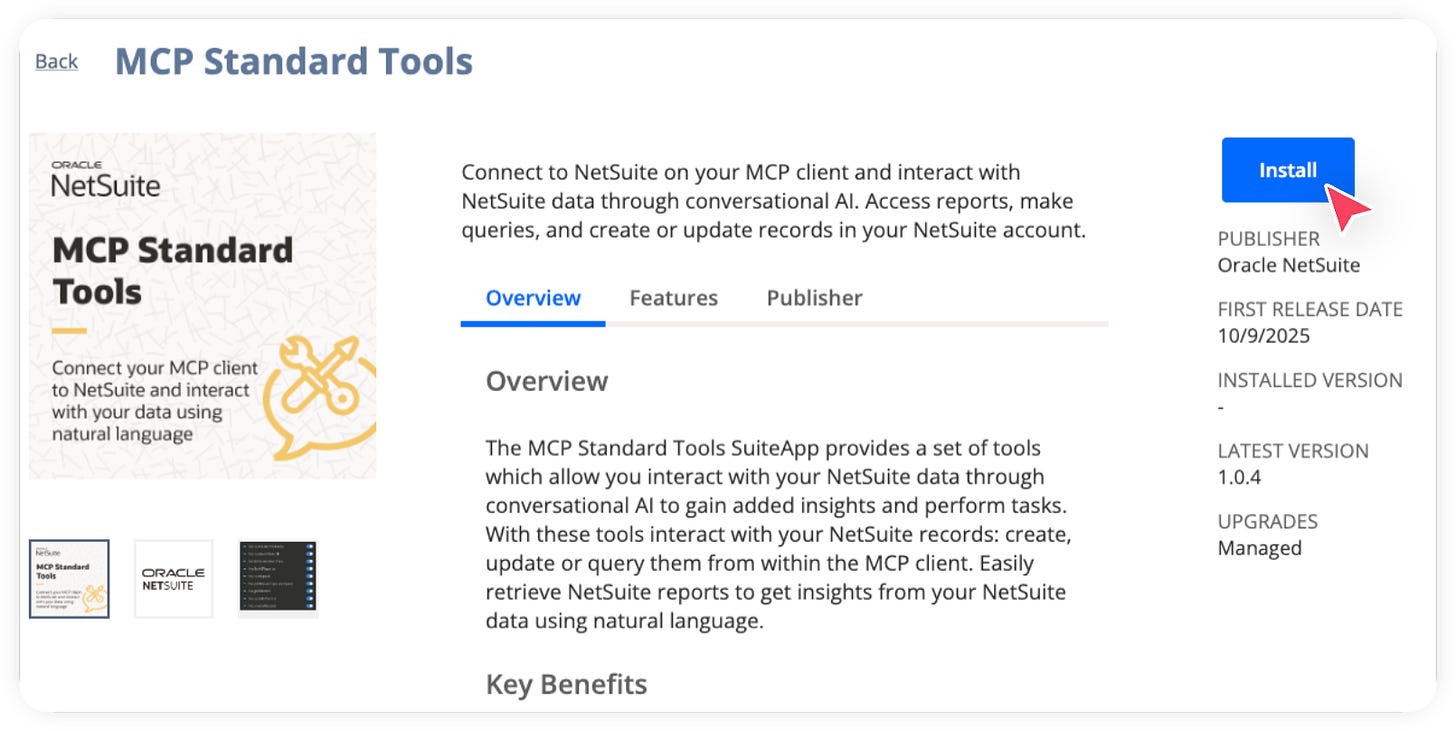
Click Install and wait a few minutes.
Refresh the page and you should see it marked as installed.

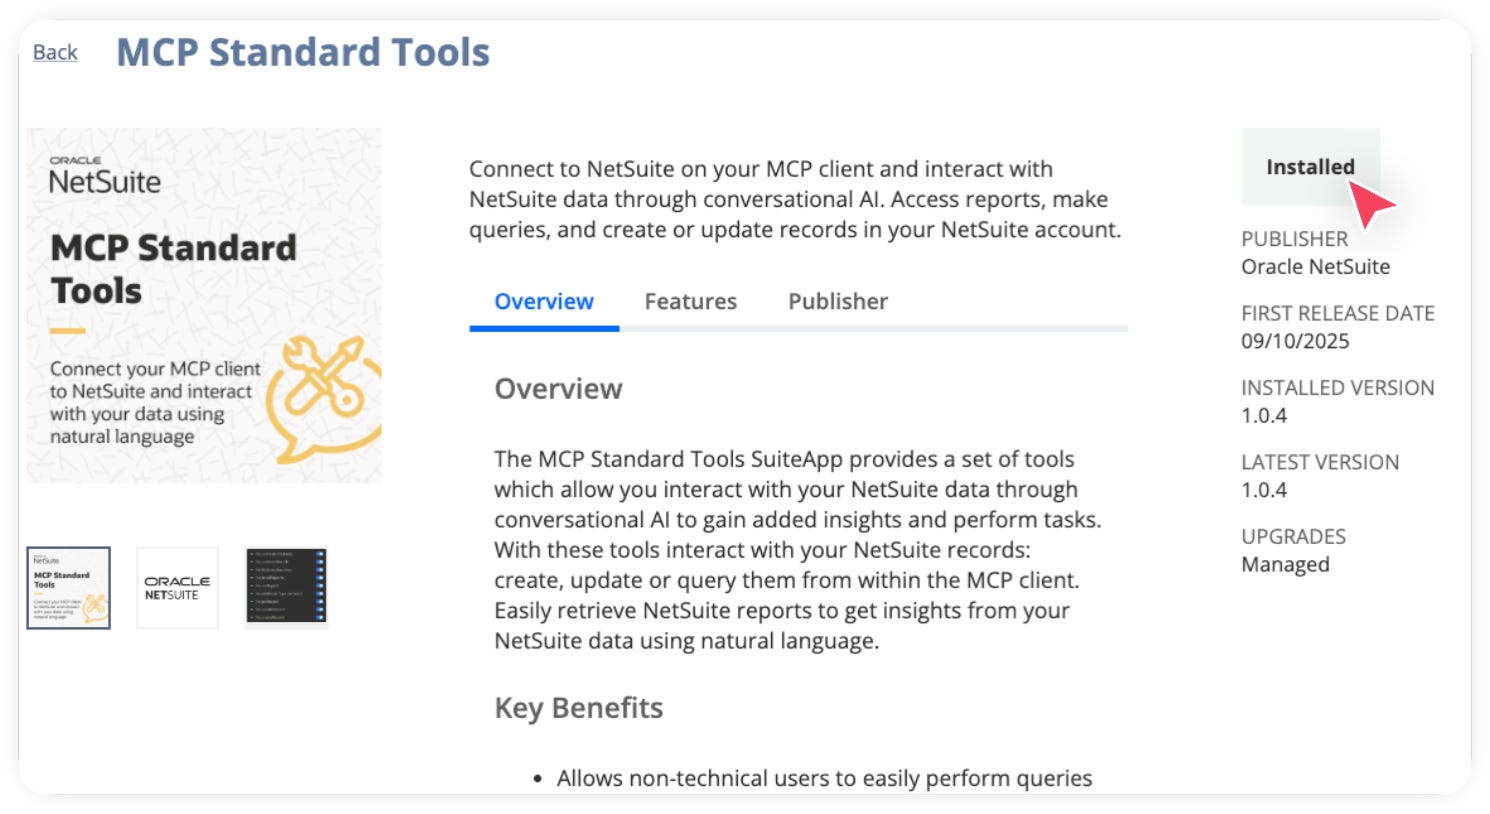
Now we have successfully installed the MCP Standards Tools SuiteApp. This SuiteApp sets up an MCP server within NetSuite allowing your AI model to securely connect and interact with your NetSuite account.
Creating a custom role in NetSuite
Now we need to create a custom role in NetSuite that Claude will use to interact with the MCP server we just set up through the SuiteApp. This approach adds an extra layer of security allowing you to control exactly which records and permissions the AI model can access within your NetSuite account.
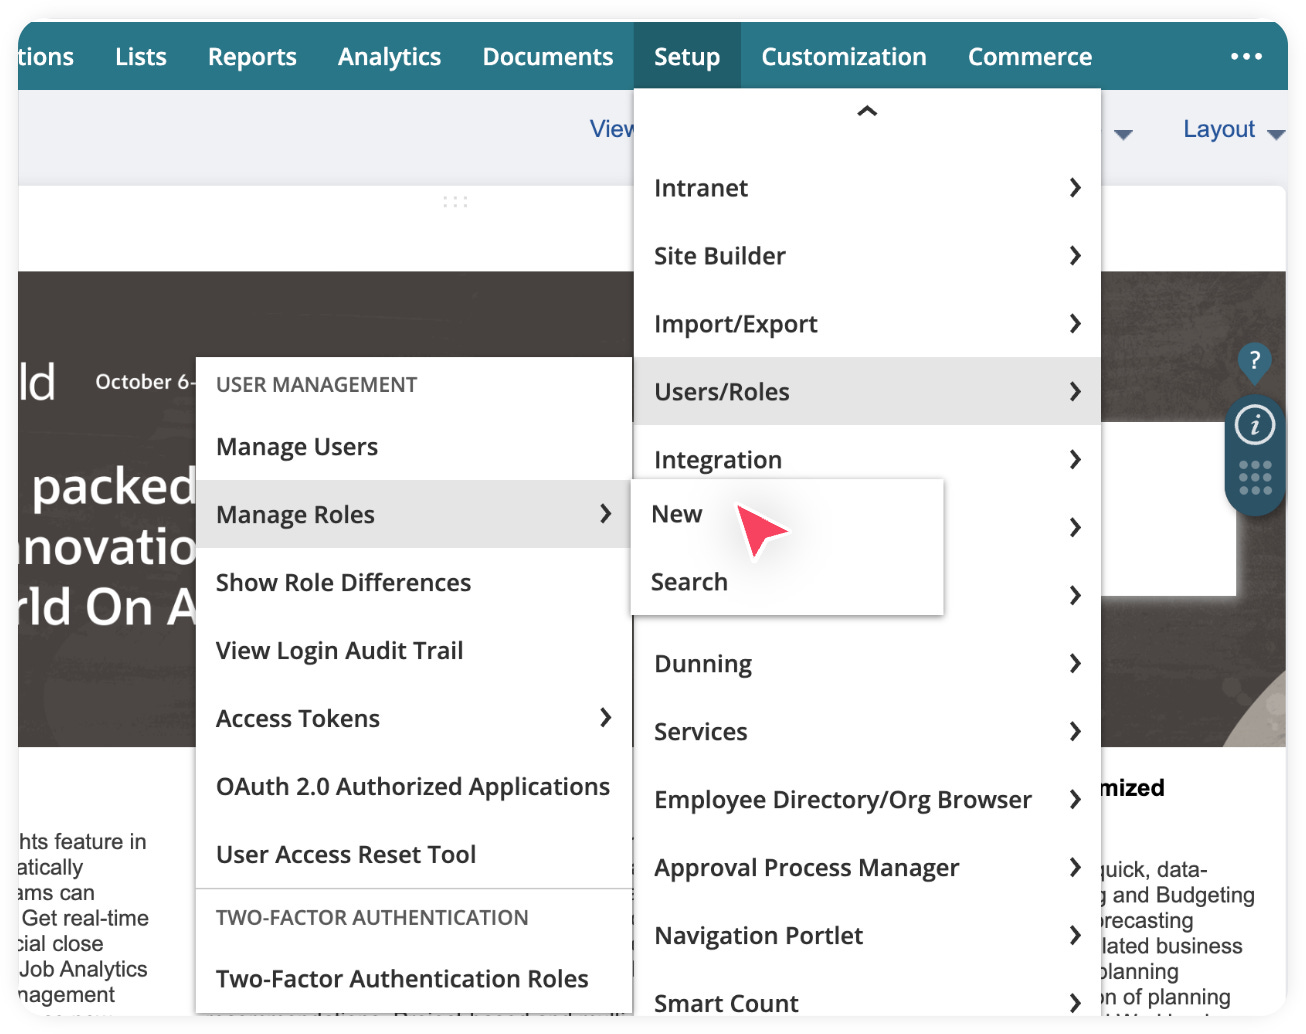
Go to Setup > Users/Roles > Manage Roles > New.

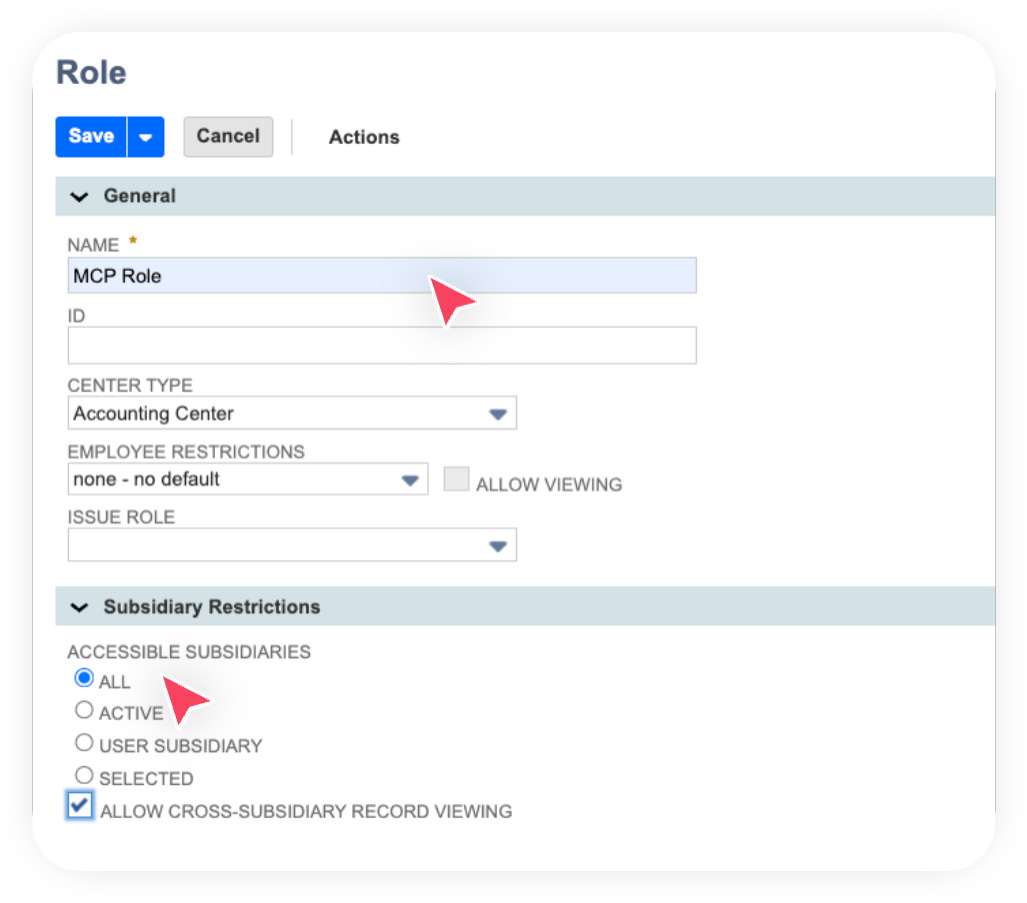
Give the role a clear name (for example, “MCP role”). Make sure to grant access to all subsidiaries if you don’t want the AI users to be limited to a single subsidiary.

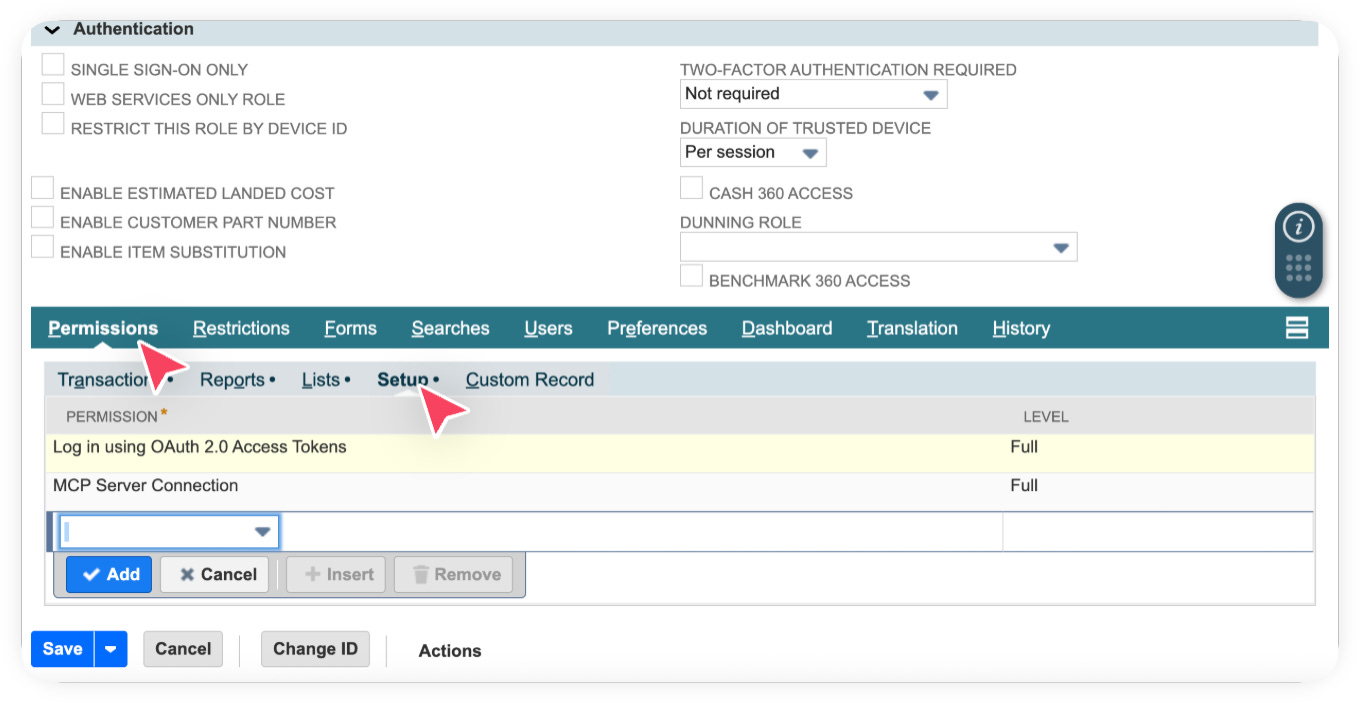
Scroll down to the Permissions section and, under the Setup subtab, ensure the following permissions are added. You should also assign additional permissions such as Customers, Transactions, and others depending on the type of data you want your AI model to access within NetSuite.

Pro tip🧠: For record permissions, grant View access if you don’t intend for the AI to create or modify records in NetSuite.
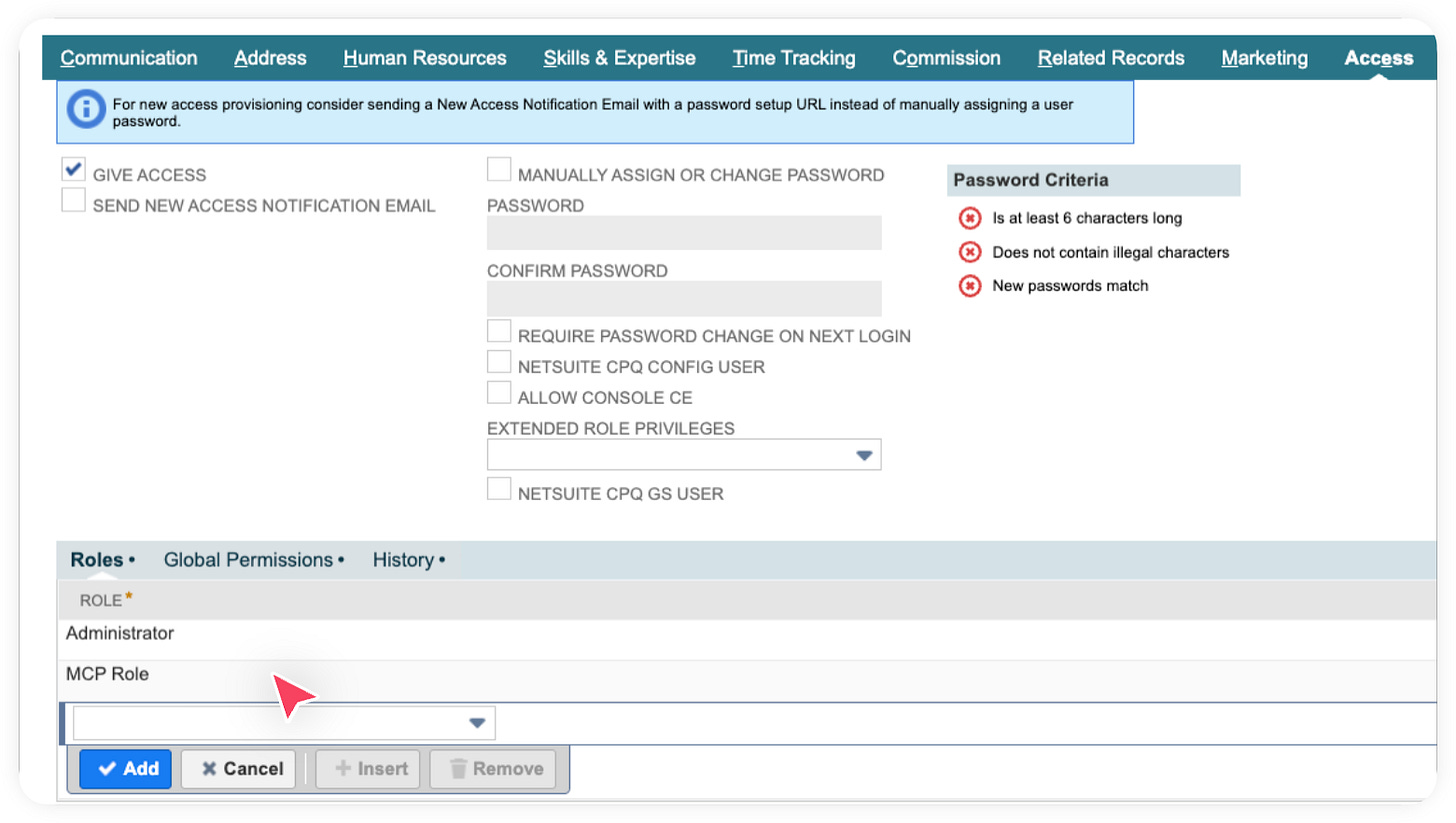
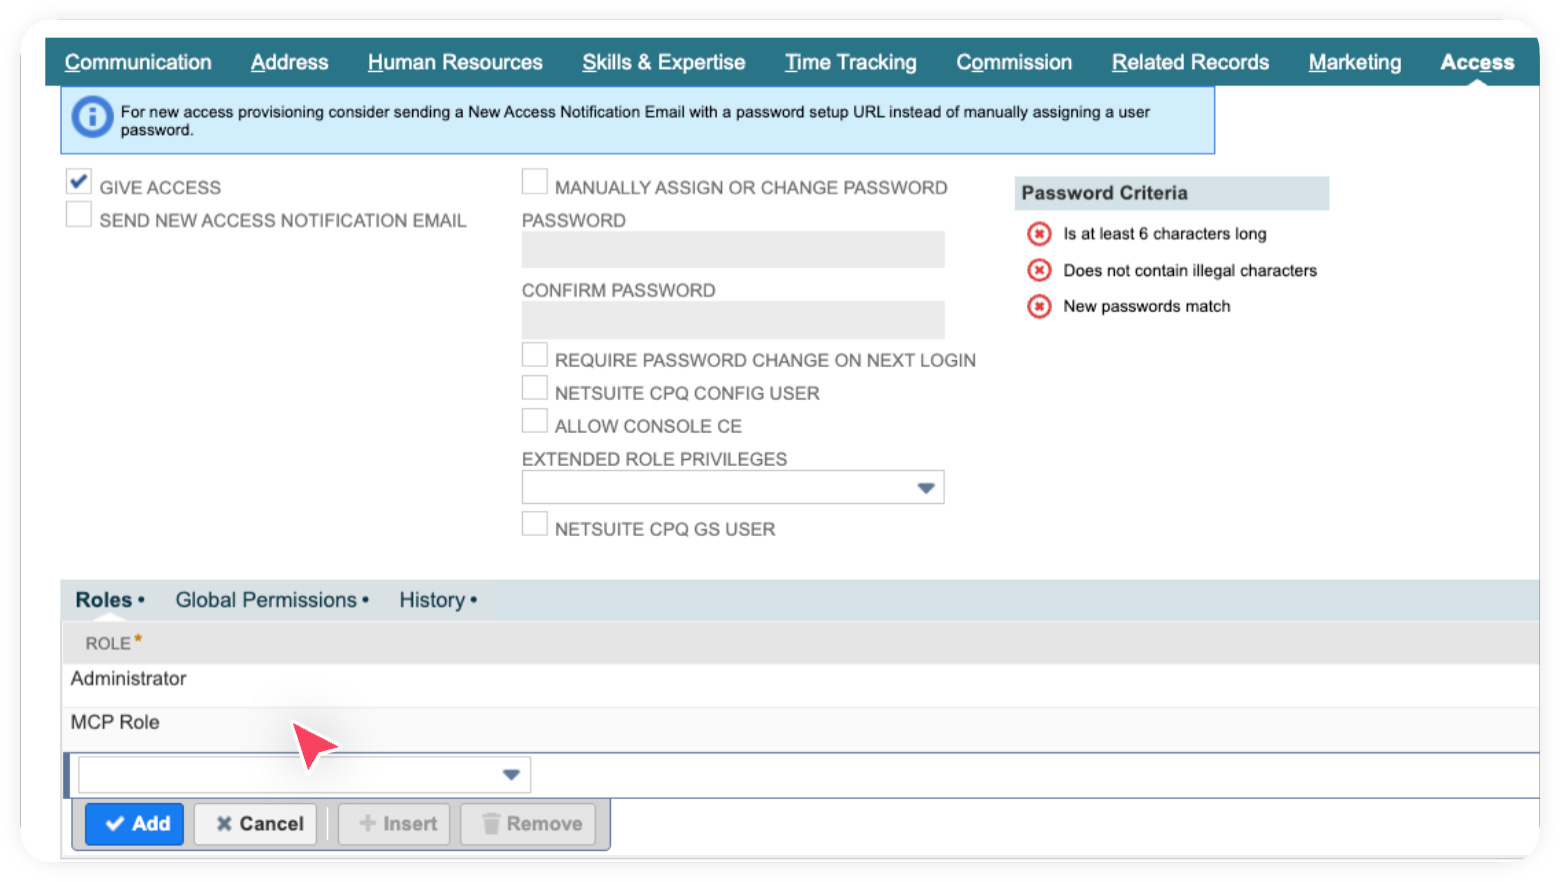
Click Save and then assign the newly created role to your employee record.
Wohoo!! 🎉
We are finally done with all the boring configuration work inside NetSuite and now we can move on to the fun part by setting things up in Claude! This is where all the magic happens and where you will finally see your AI-powered NetSuite connection in action, the part you’ve probably been itching to get to all along.
Go to part 2 where we setup the NetSuite connector in Claude.